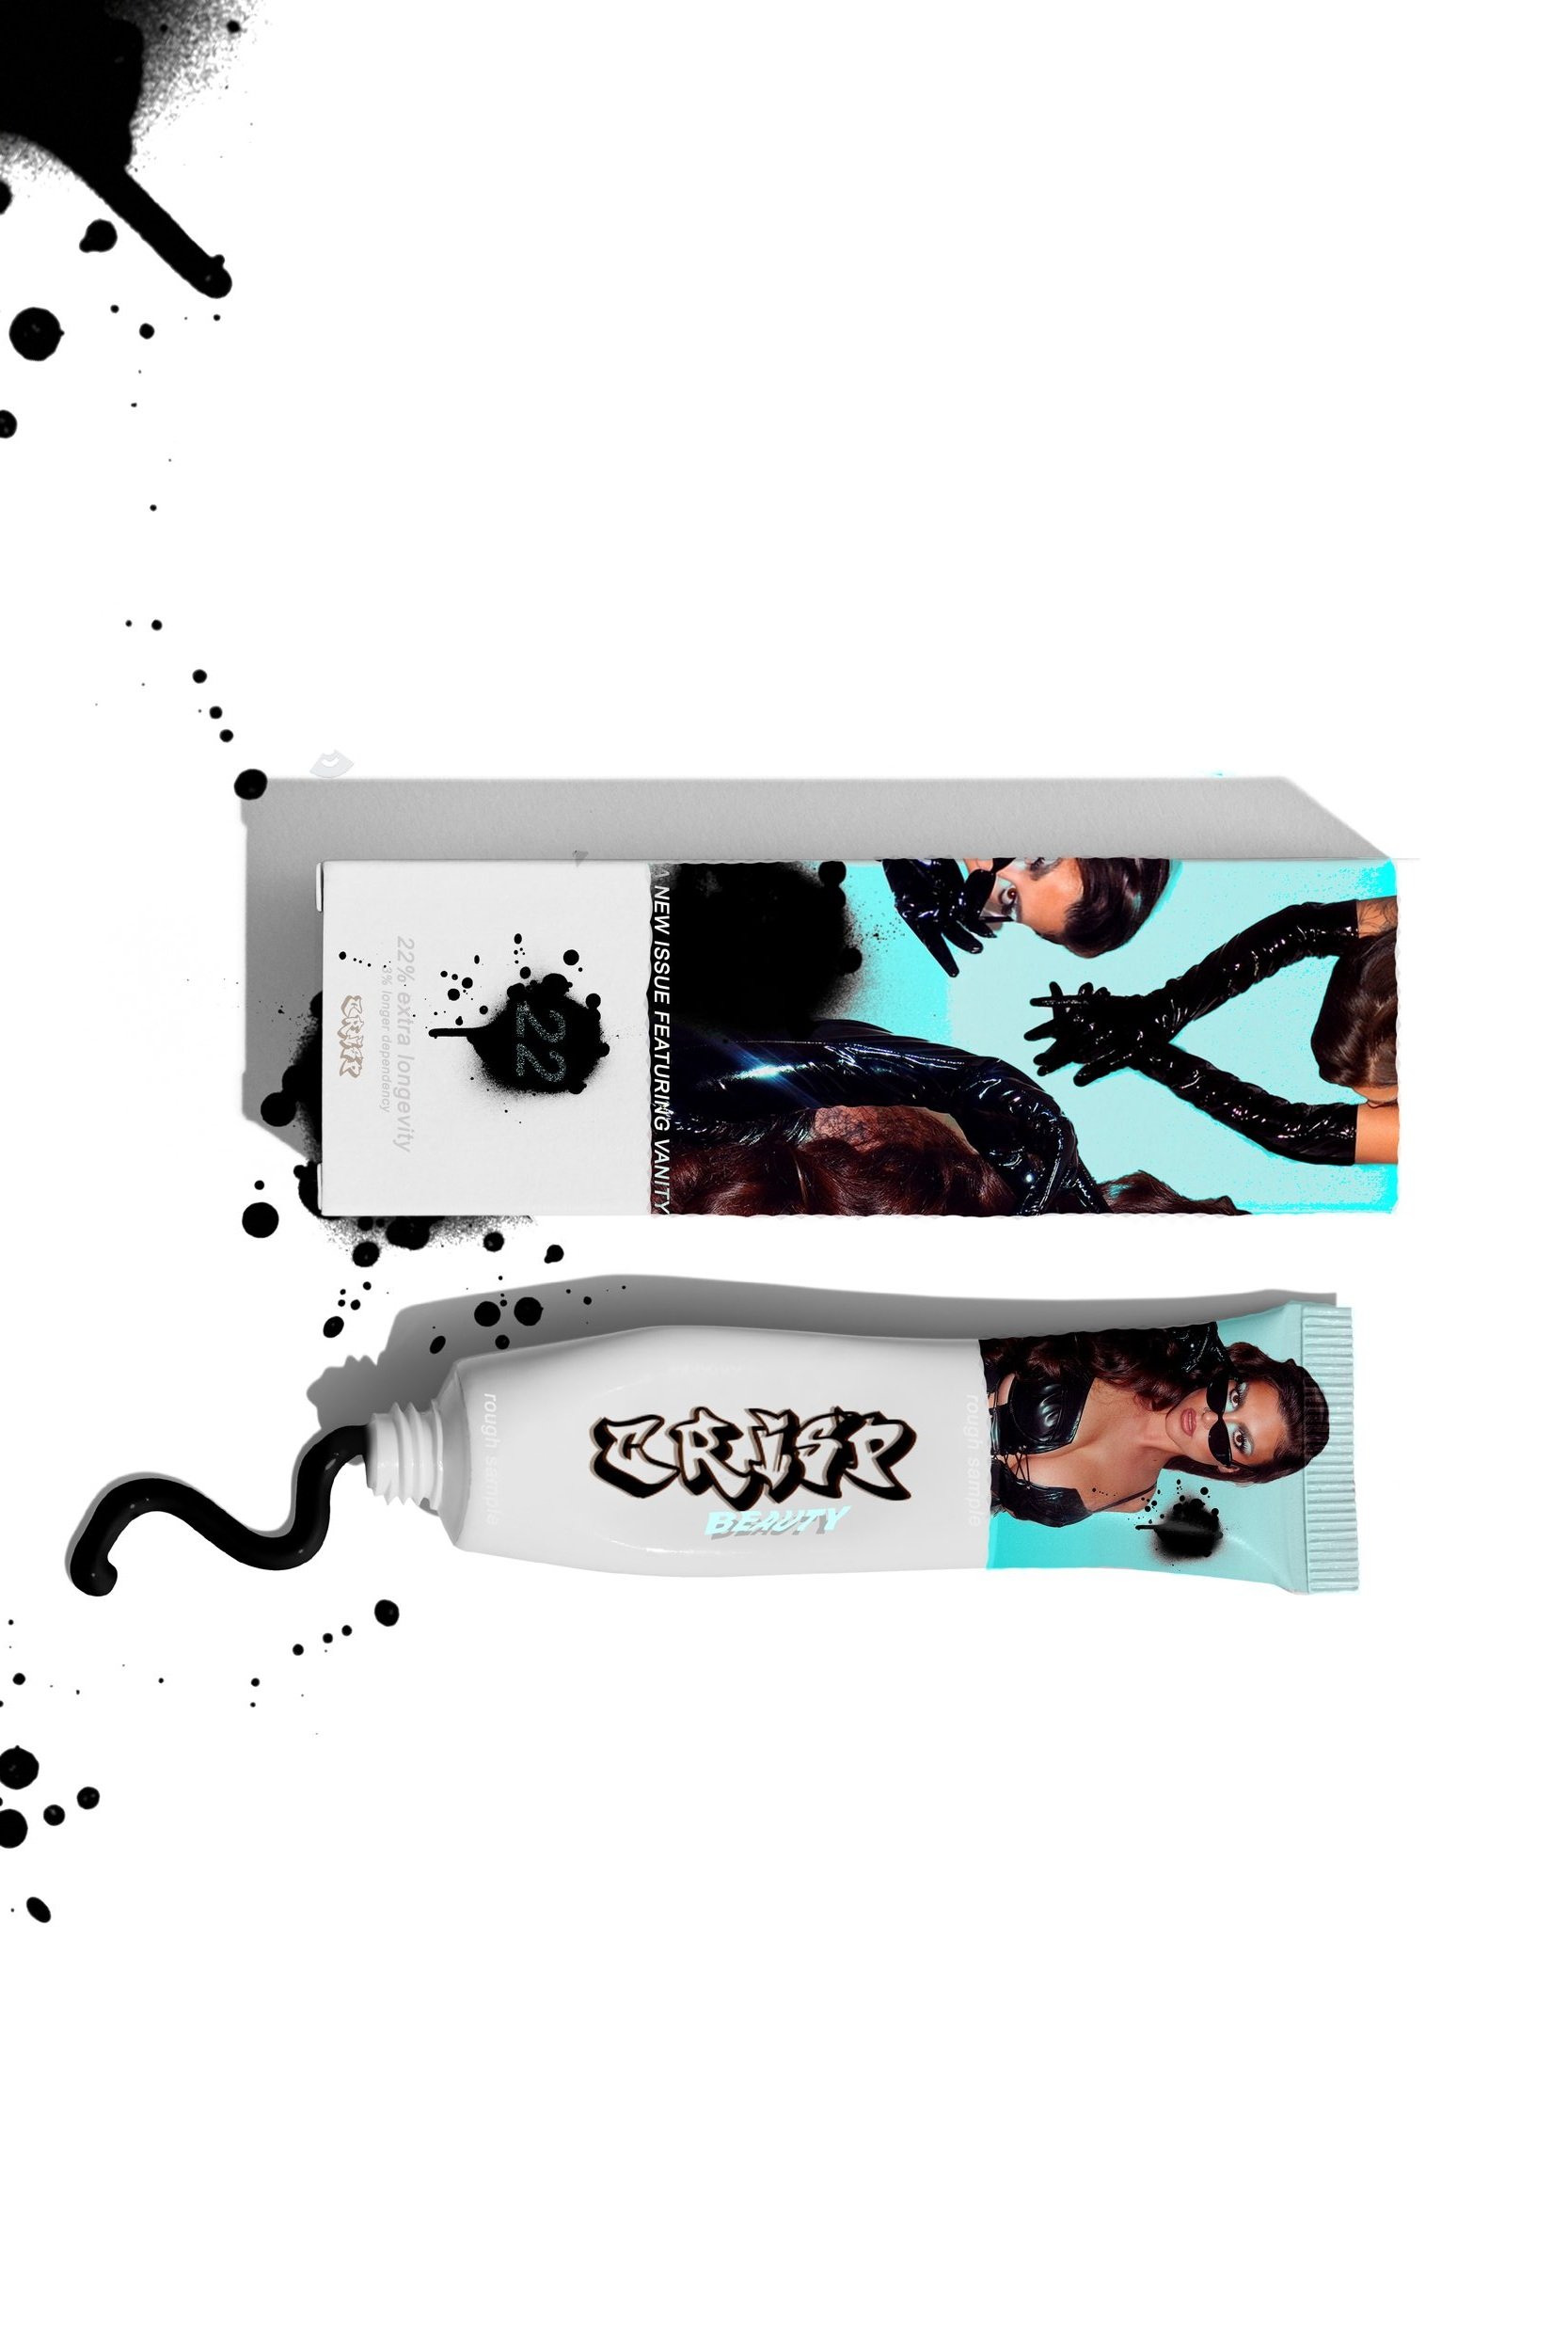
crisp makeup crisp magazine
crisp makeup crisp magazine

mood for our next issue.

Past Issues


*upcoming *


Blog Tutorials
just be reliable.
coming soon <3
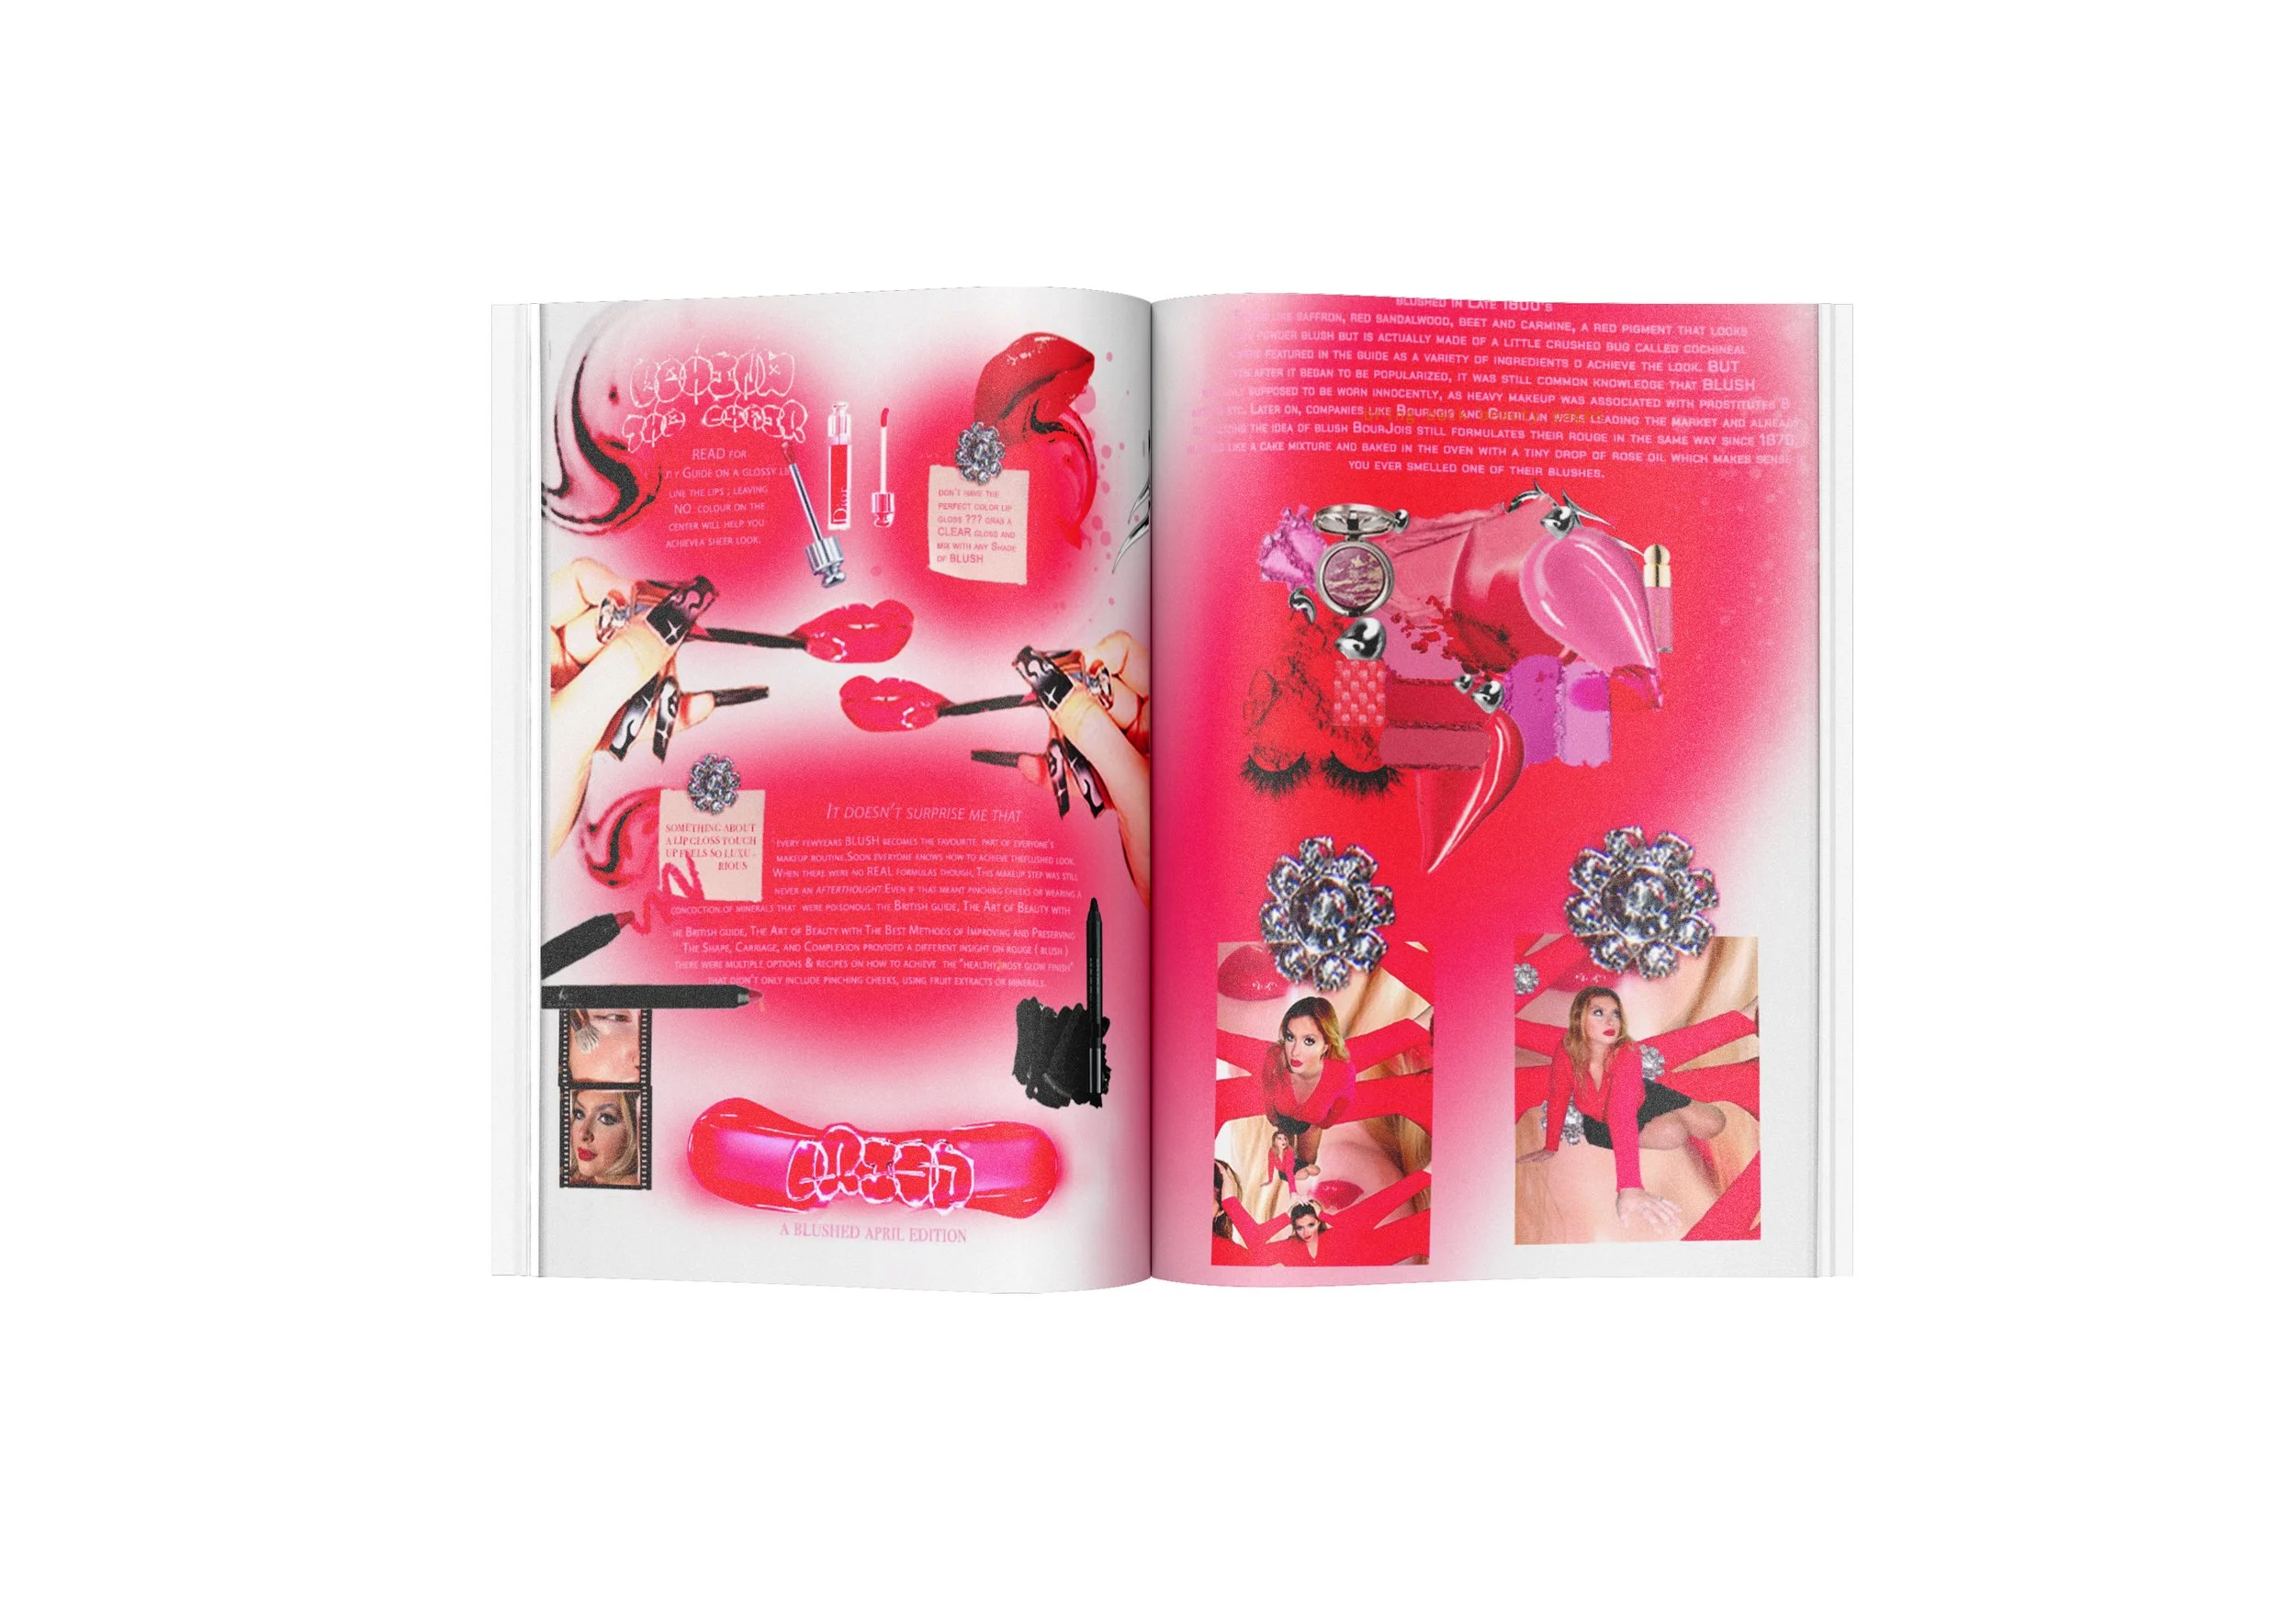
I’m blushing…

Pop of Color ; Hooded Eyes

Timeless Skin & Long Lashes
Makeup that just works,
Reliable ass base
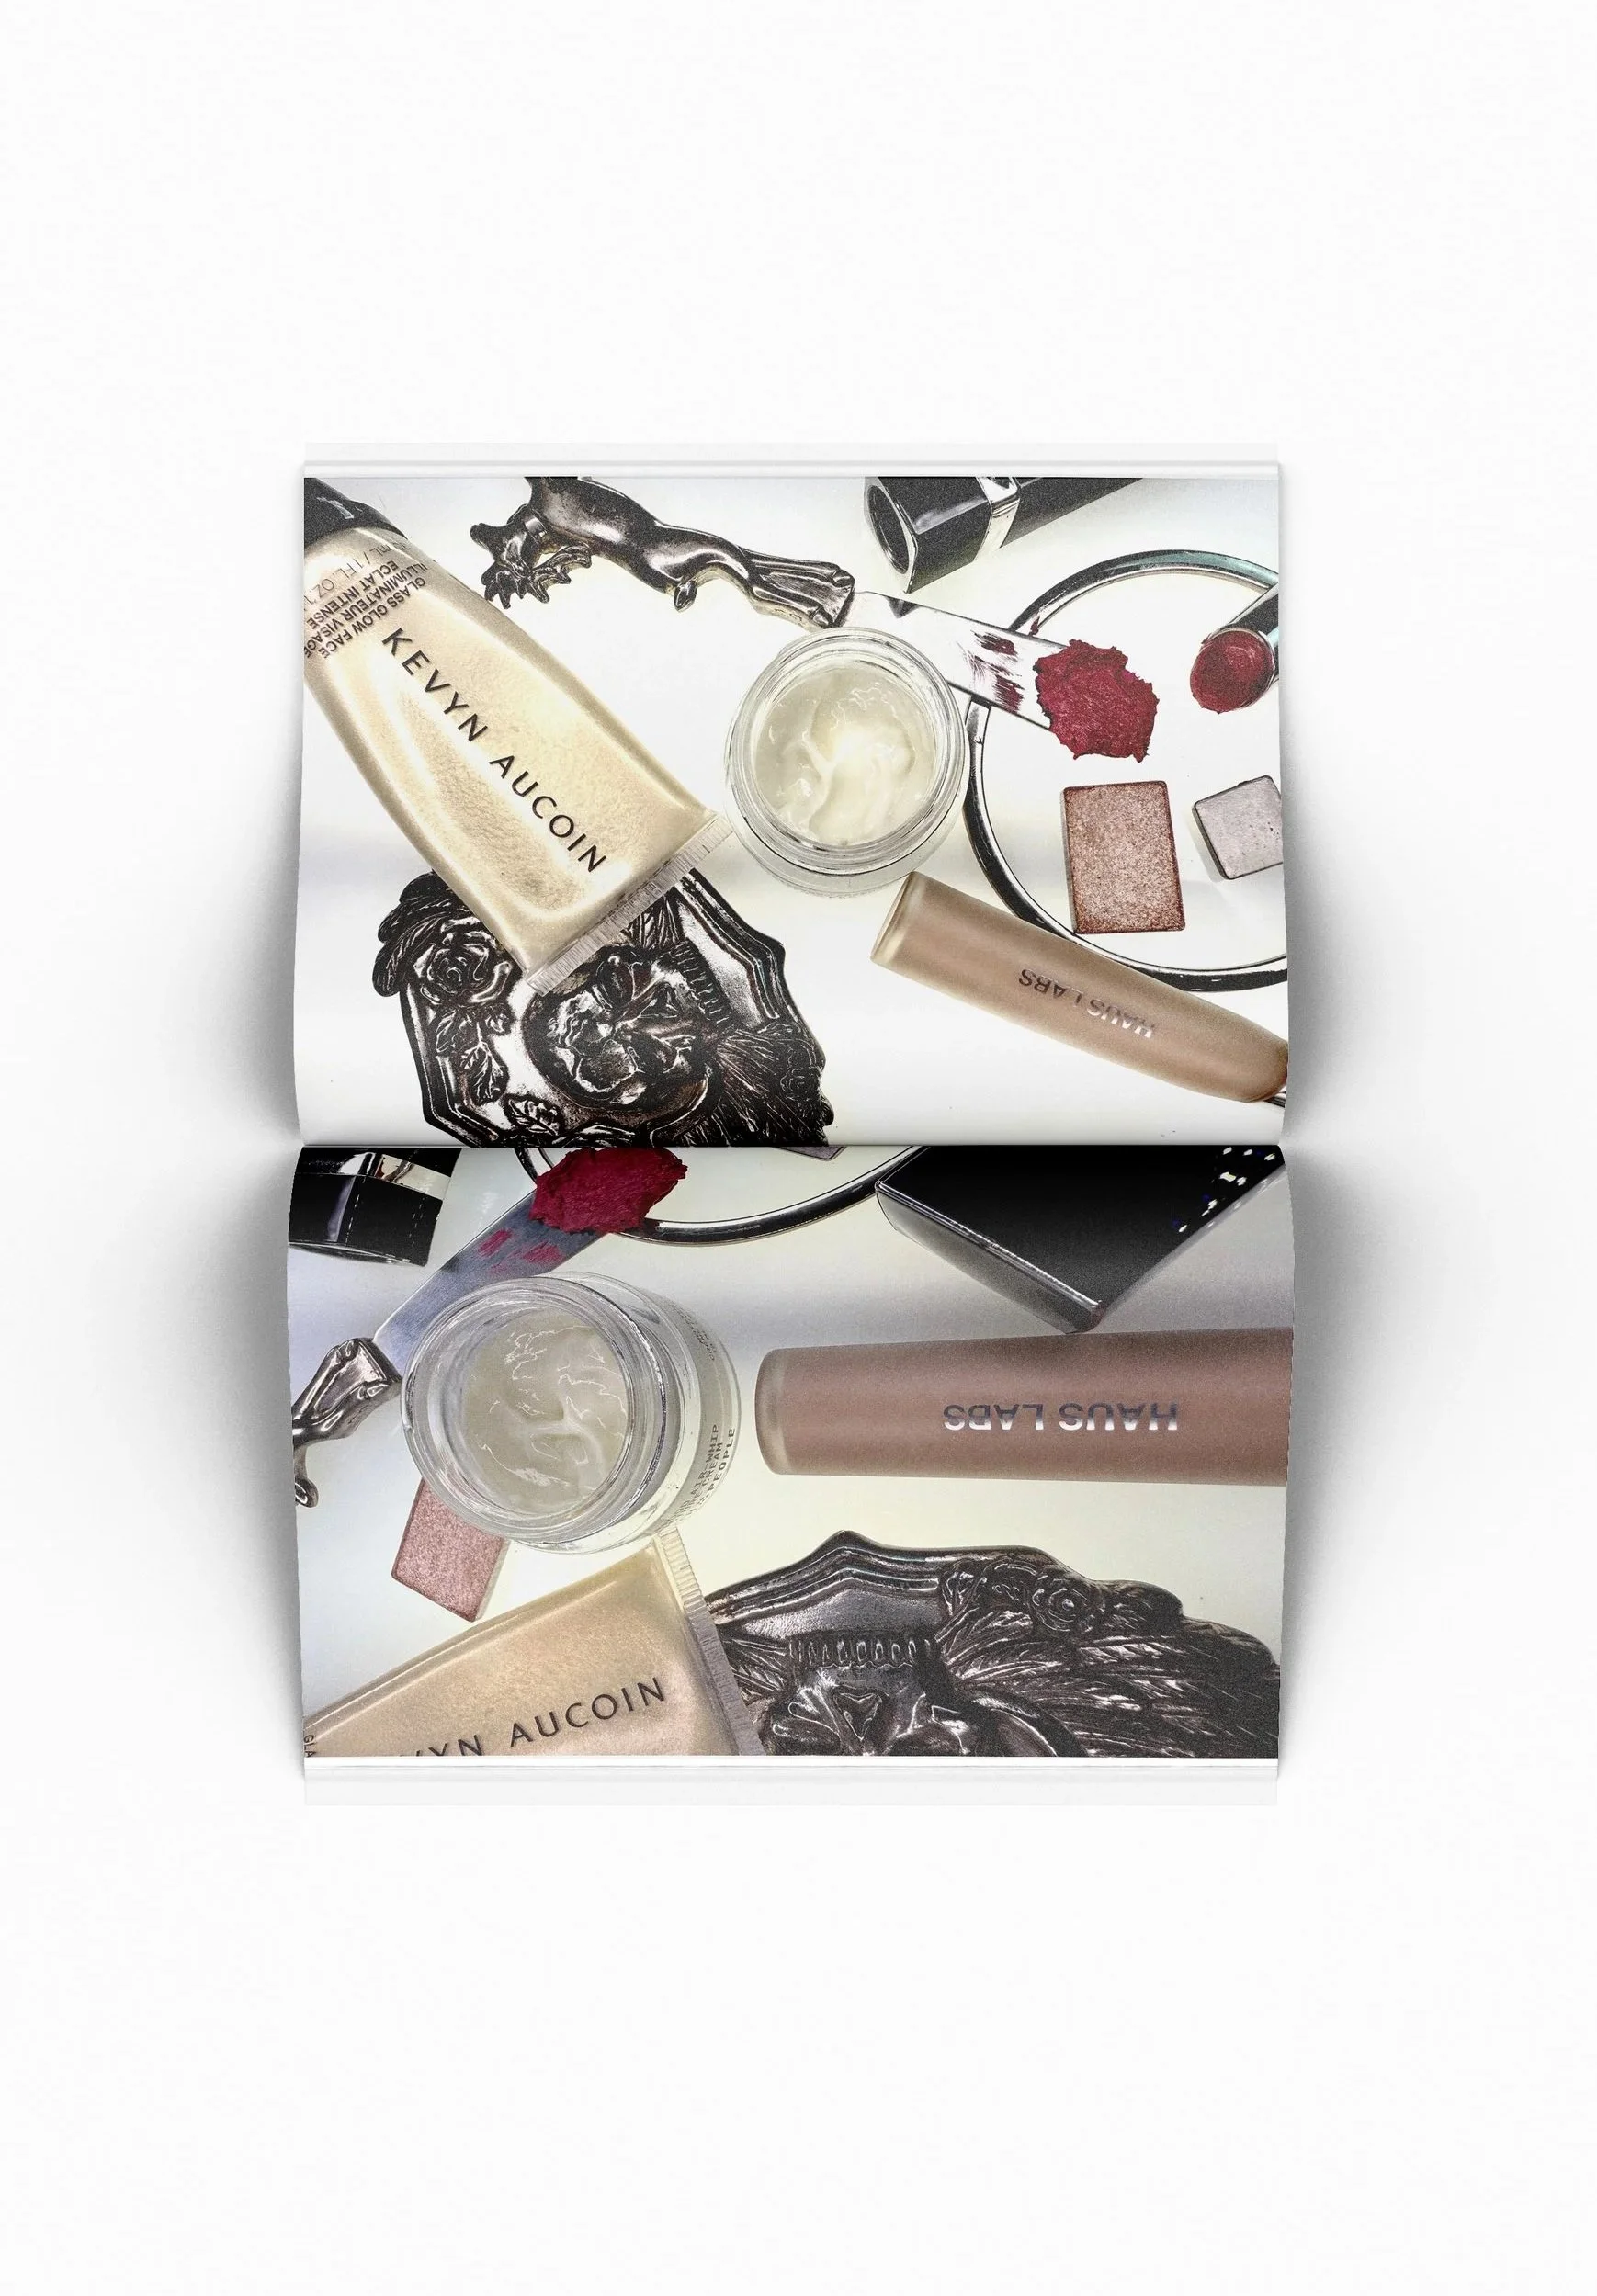
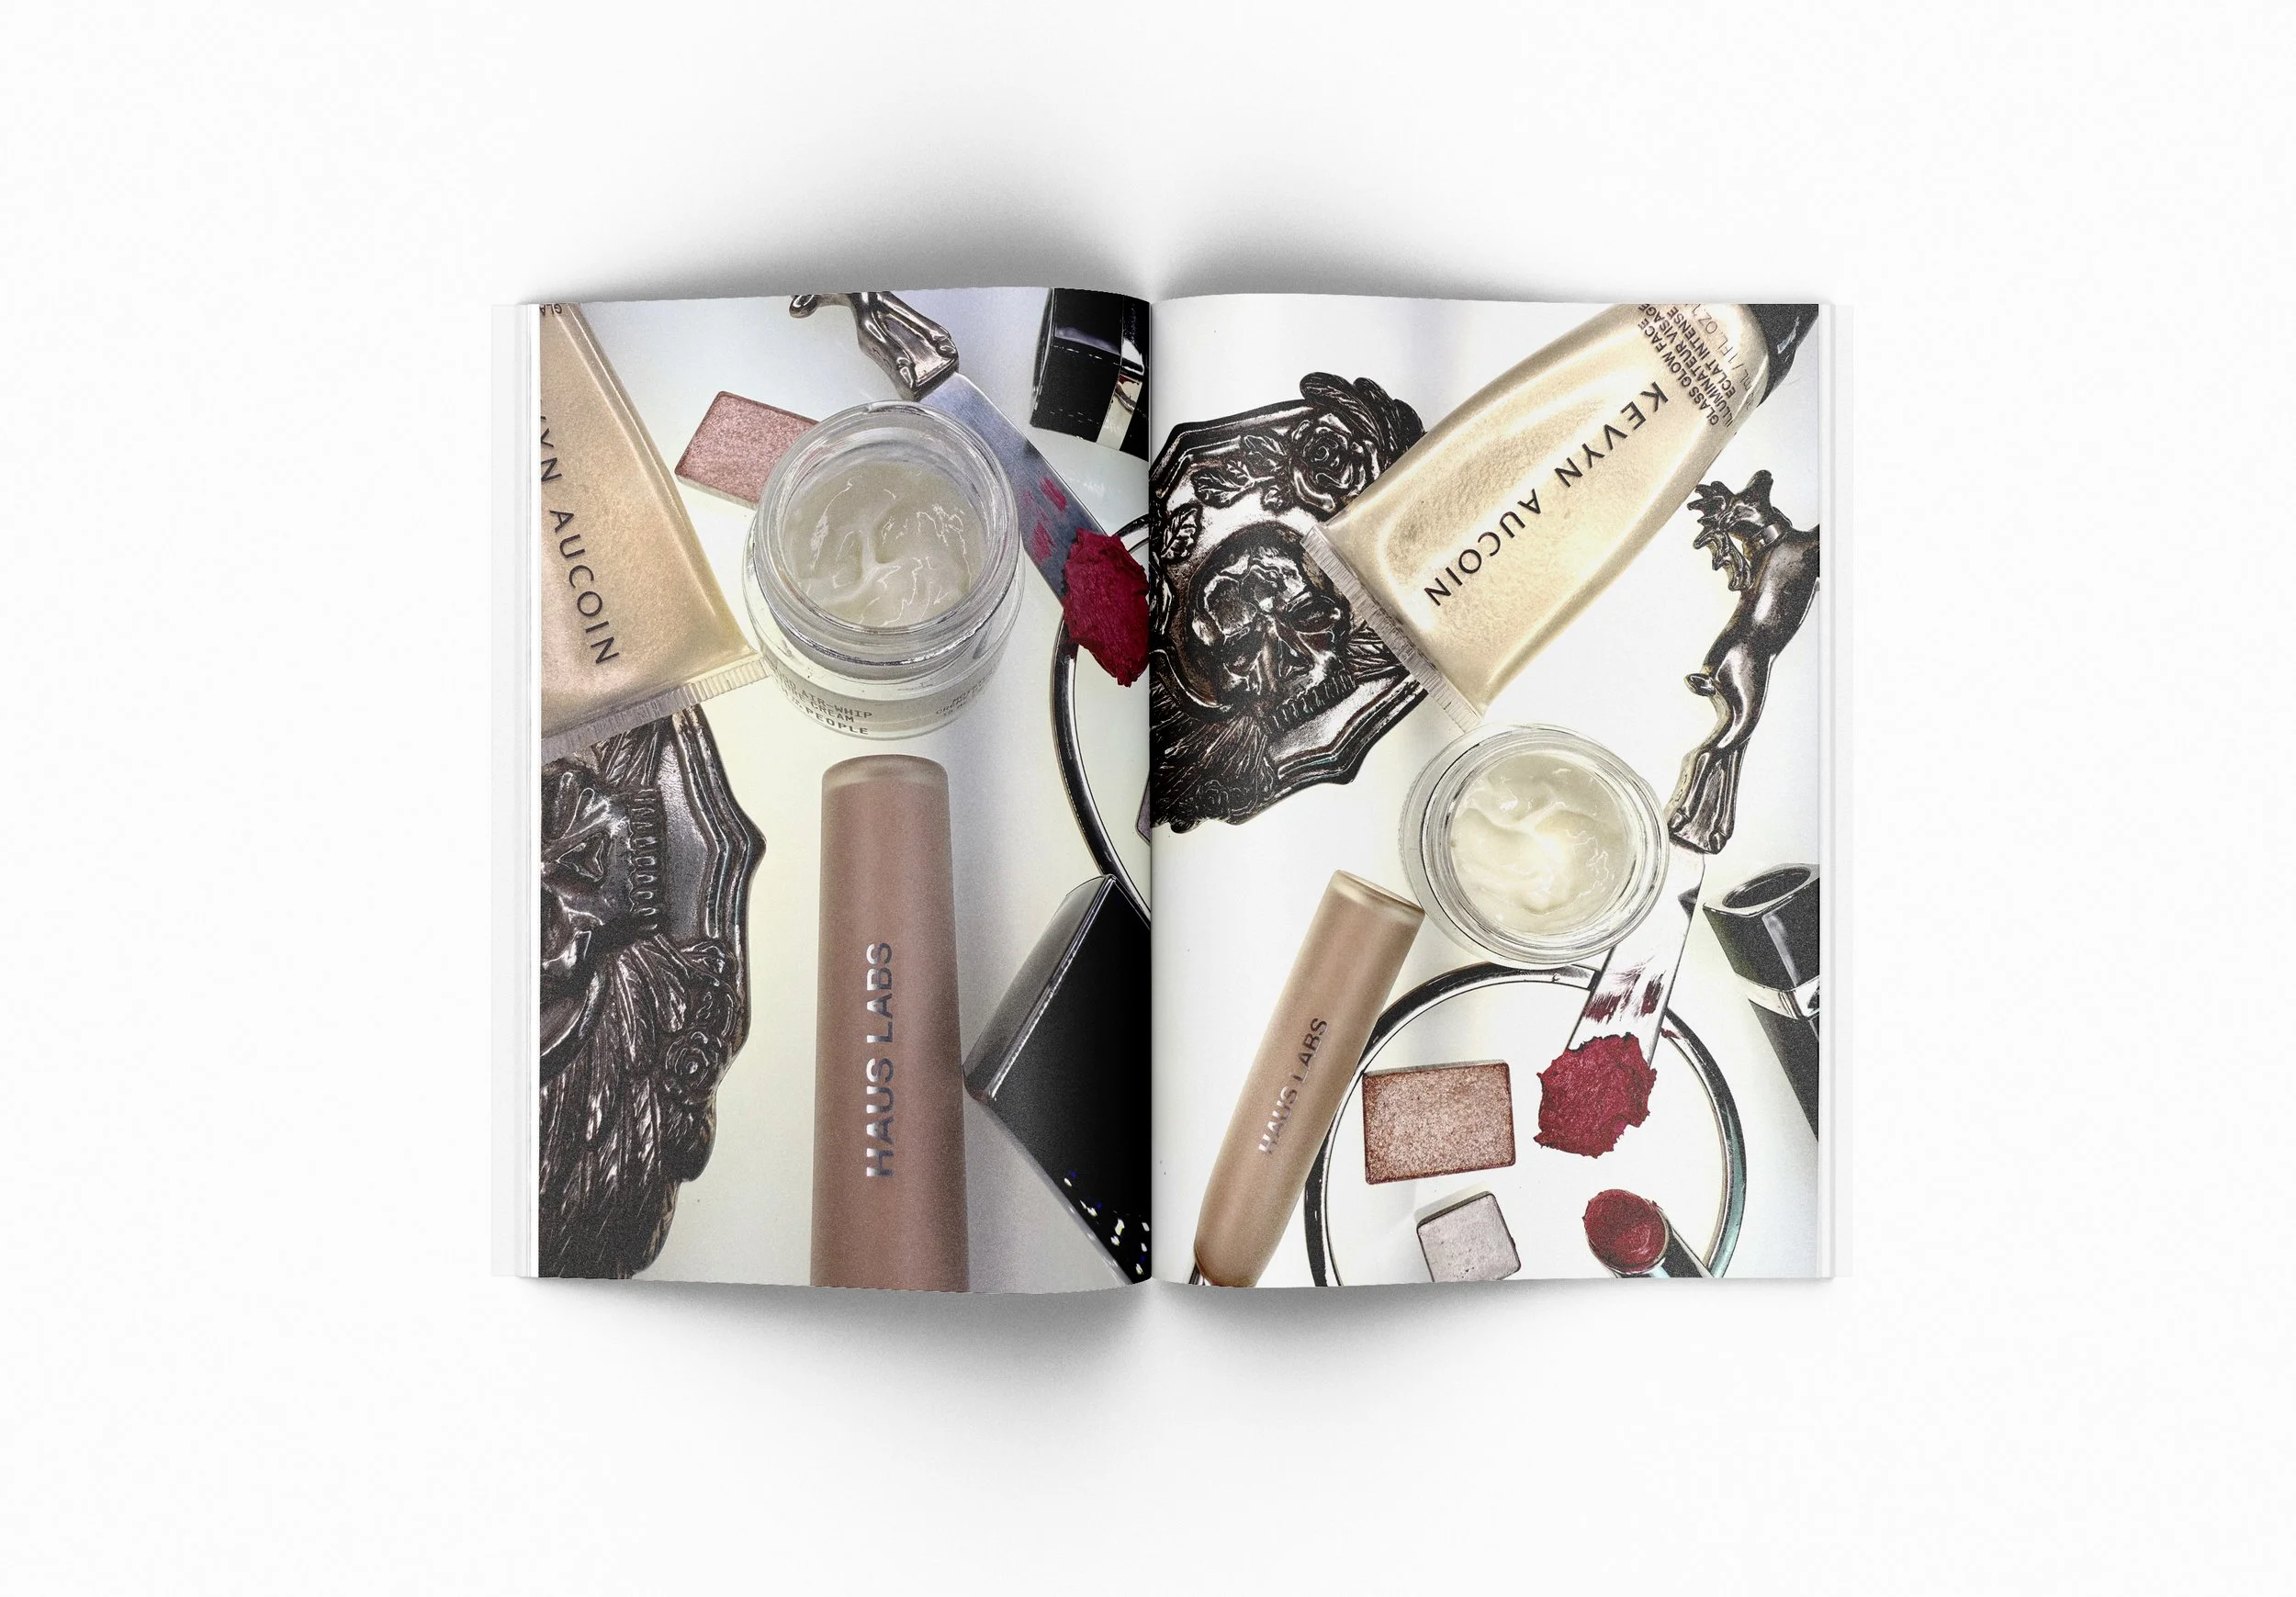
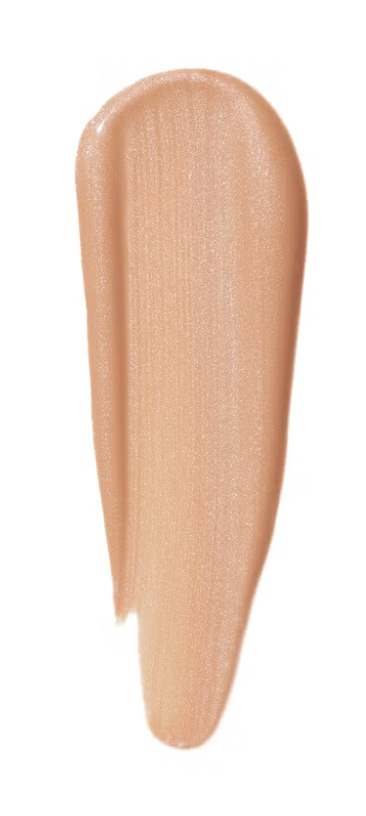
Charlotte Tilbury holywood flawless filter n°1 mixed Elf halo glow n° 3
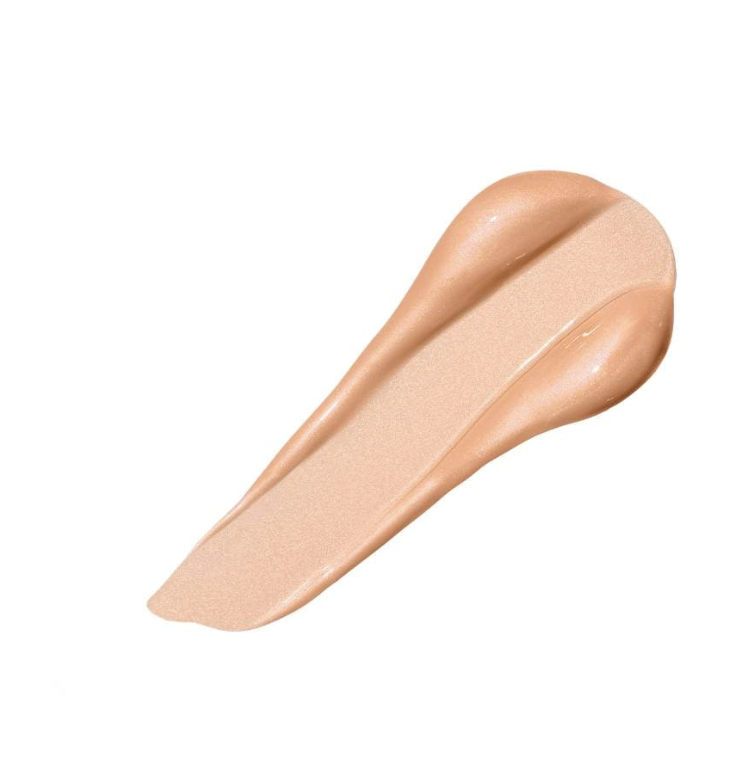
for this Foundation concoction we mixed the basics.
1
3
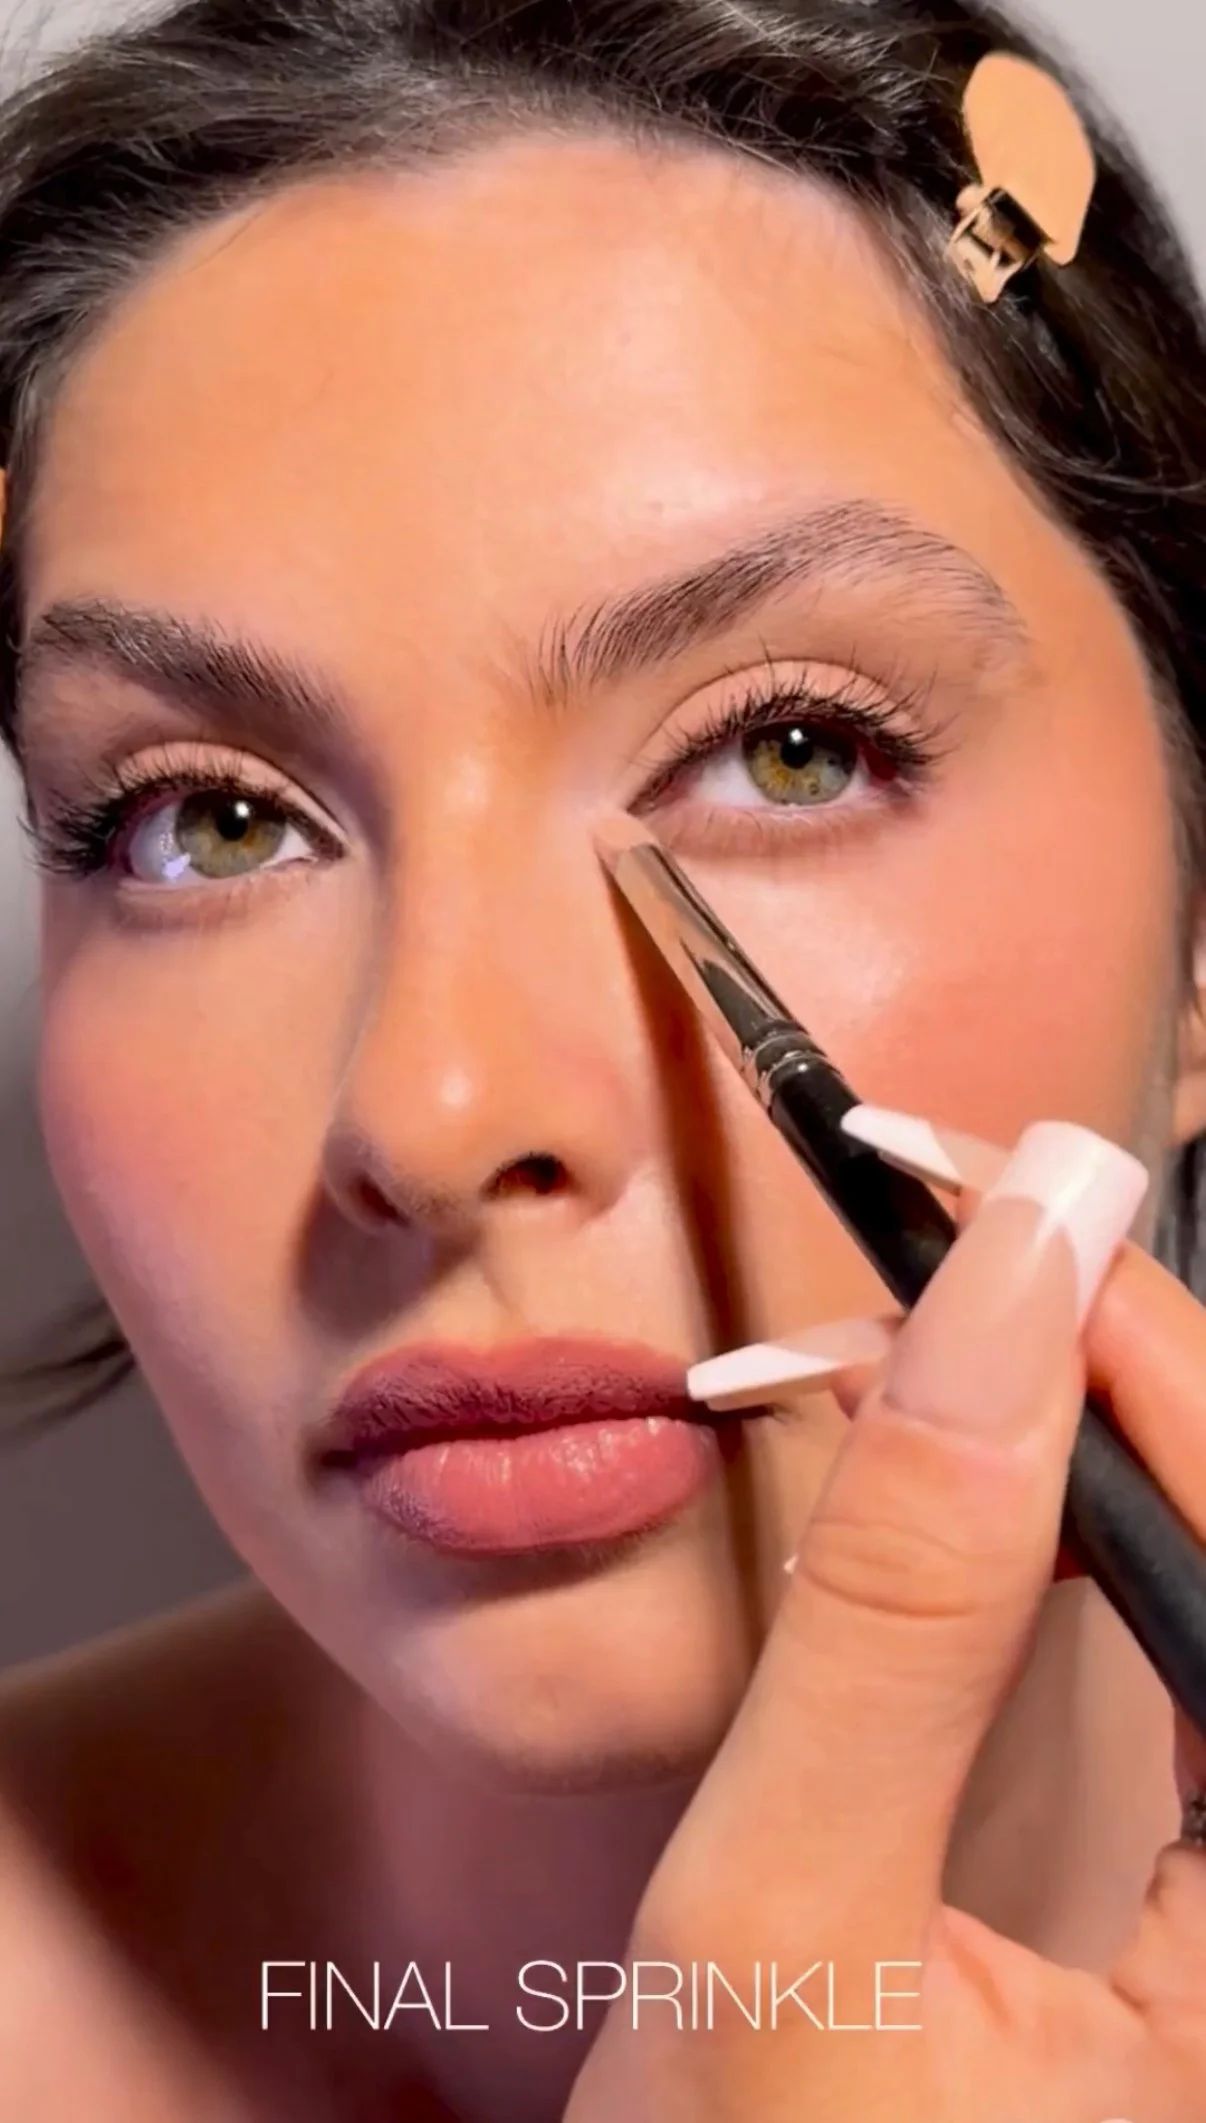
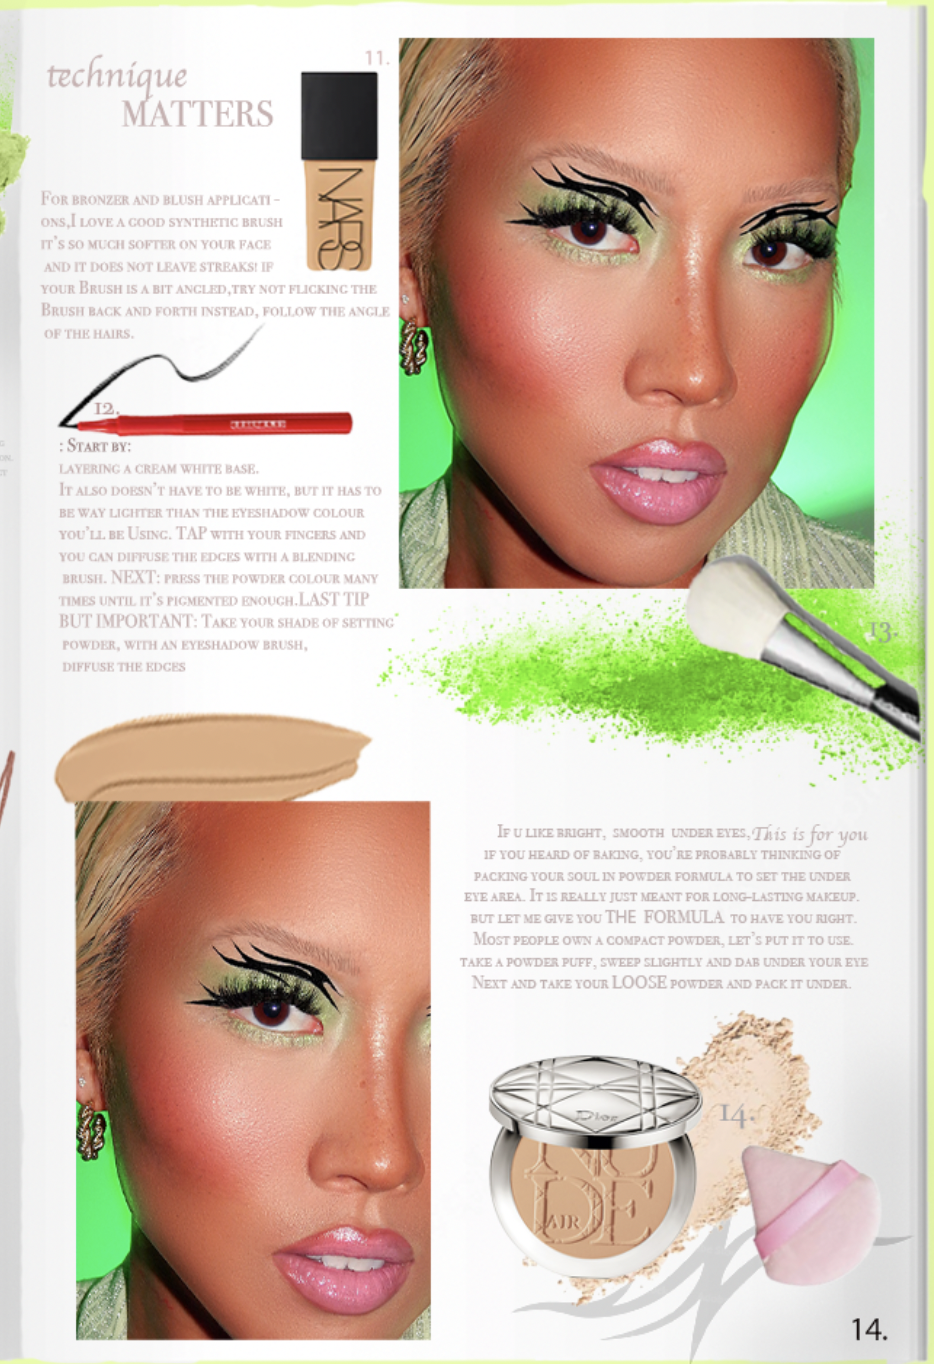
3-step Guide to; Makeup for Beauty Photography, under color lighting
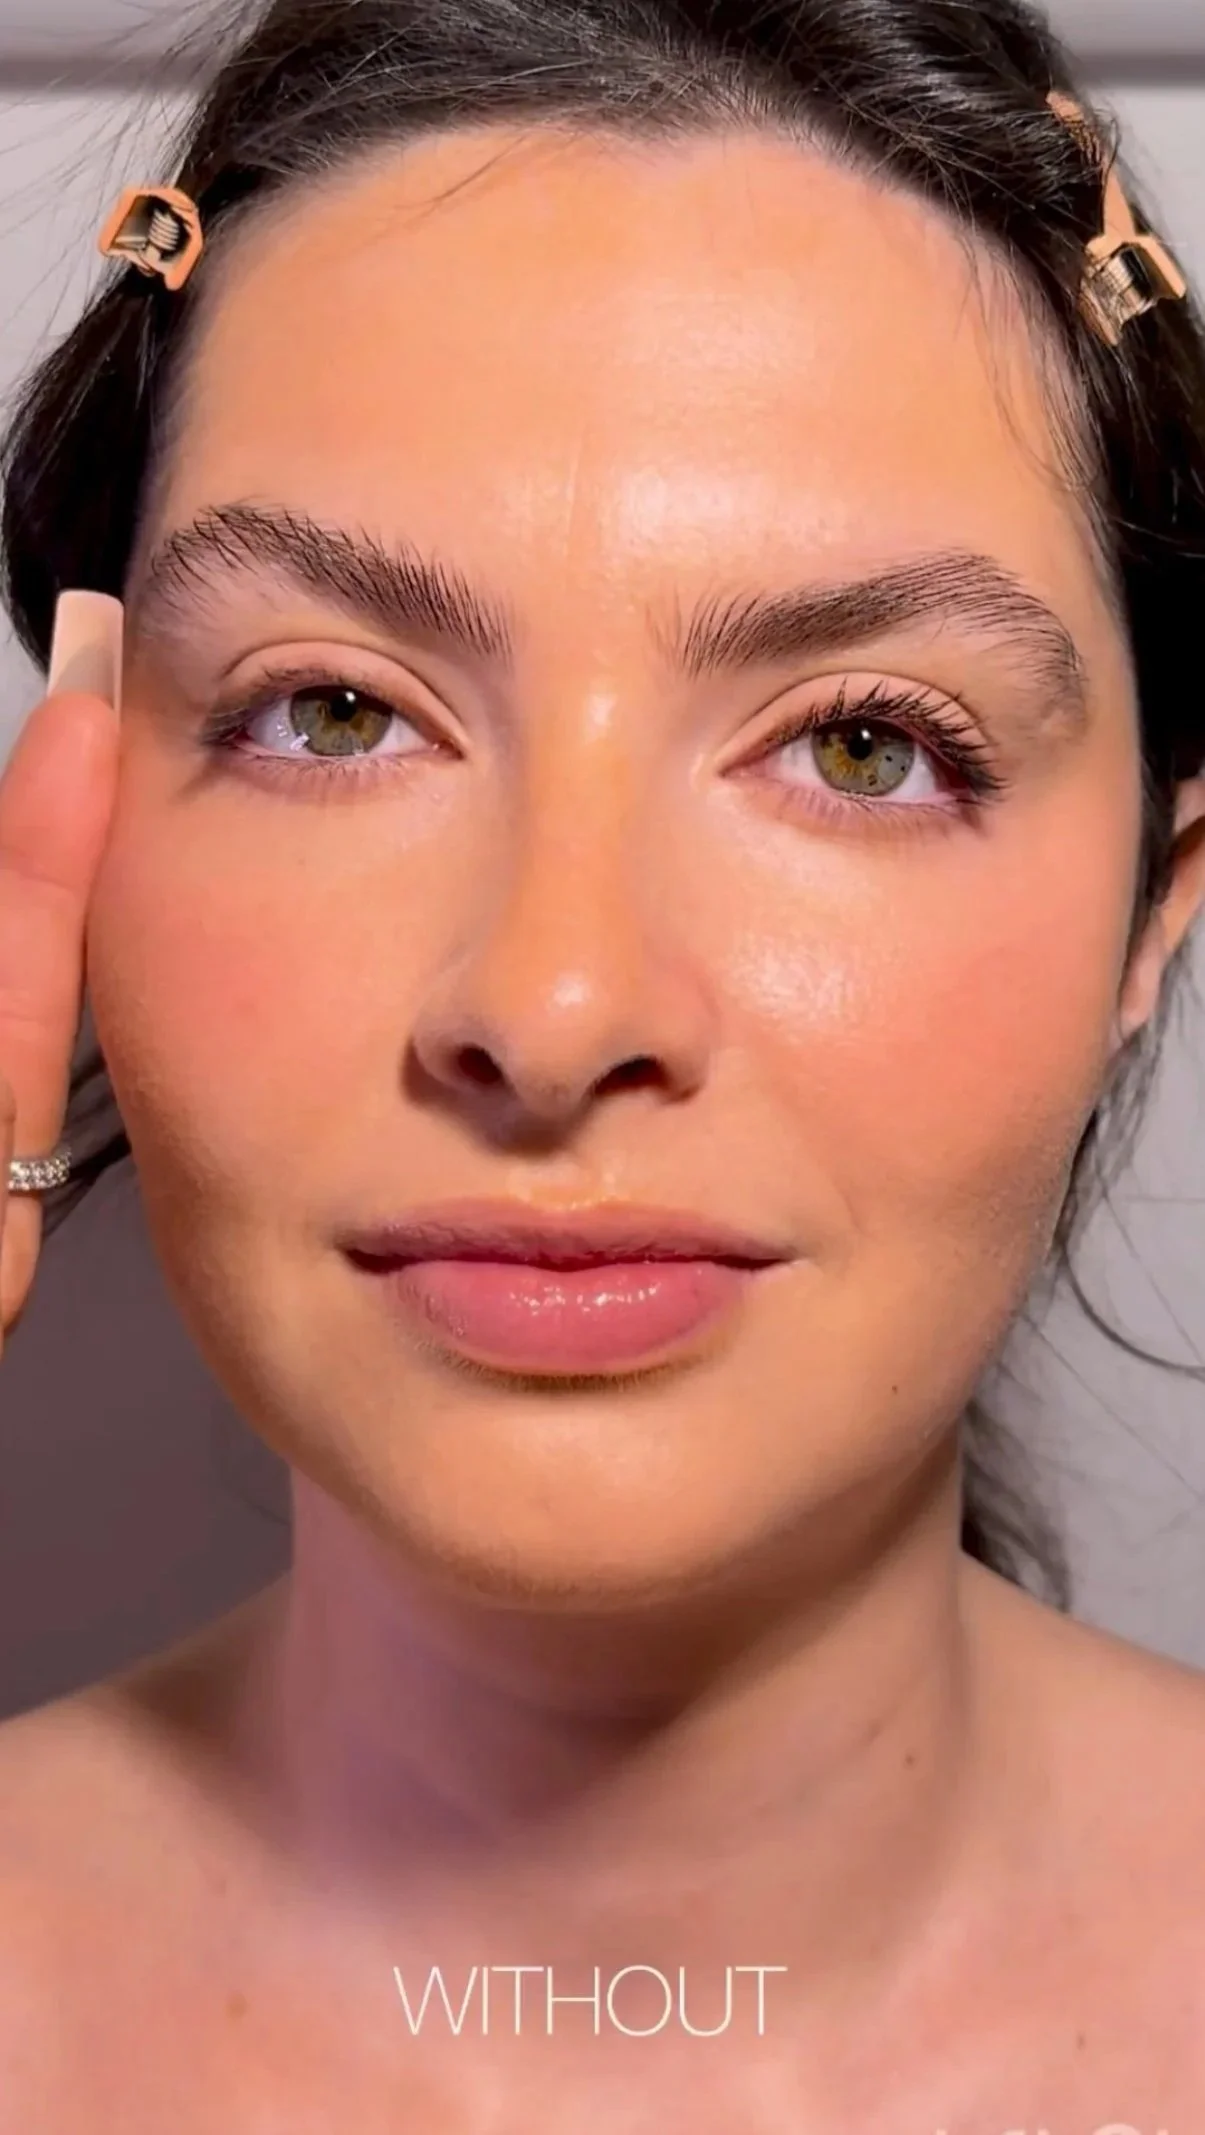
Everyone knows that heavy makeup doesn’t pair well with high res images. They’ll tell you to avoid multiple layers of powder, concealer and a heavy lash and trust, it will cut down hours of retouching. But what if you still want to look full glam? START with texture.
Change to creams; Try abandoning your translucent/compact powders and switching to blotting papers. Switch that pressed highlighter for Vaseline or even a body glow balm, don’t worry about looking oily, rely on your skincare or eyeshadow primer (on the oily zones) to create a barrier.
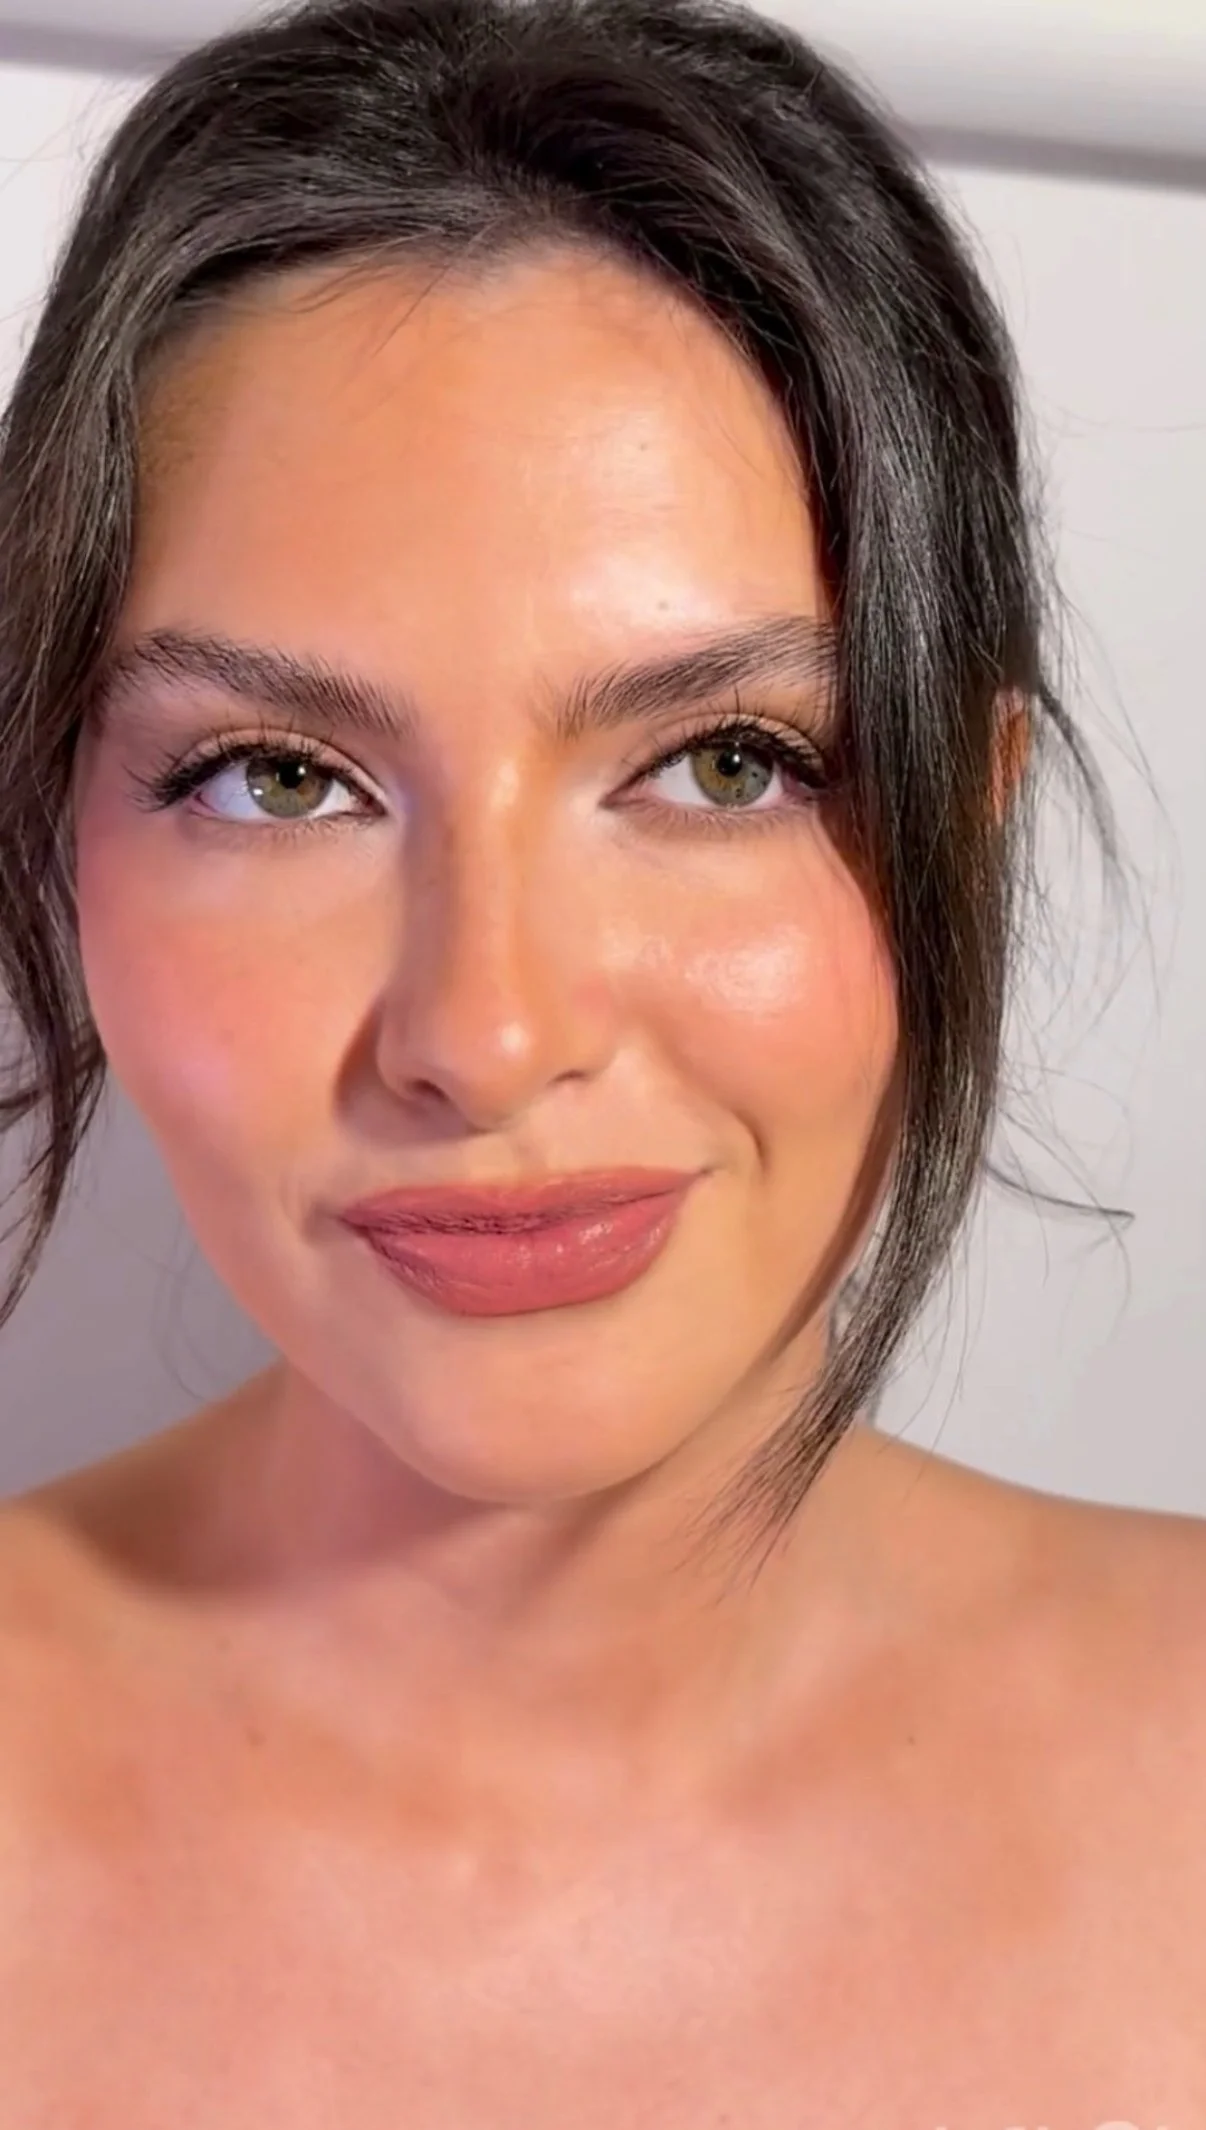
Dark colours; If you’re dealing with a colour lighting setup like the one in the picture, you want to start your base with darker colours. For instance, if the goal is for the lashes to appear more dramatic and light shimmers to reflect more, you got to get the crease, lash and water line as dark as you can.
Repeat the process; Pack the colour, blend, pack the colour again.
Lashes; A half lash placed on the outer corner or individuals are already enough to achieve a dramatic look. In this image Karly’s wearing Crisp Lashes in style Softy cut into individuals.
Hooded Eyes; Pop of Color
Makeup isn't about looking perfect but being able to compliment your own features is where it’s at.
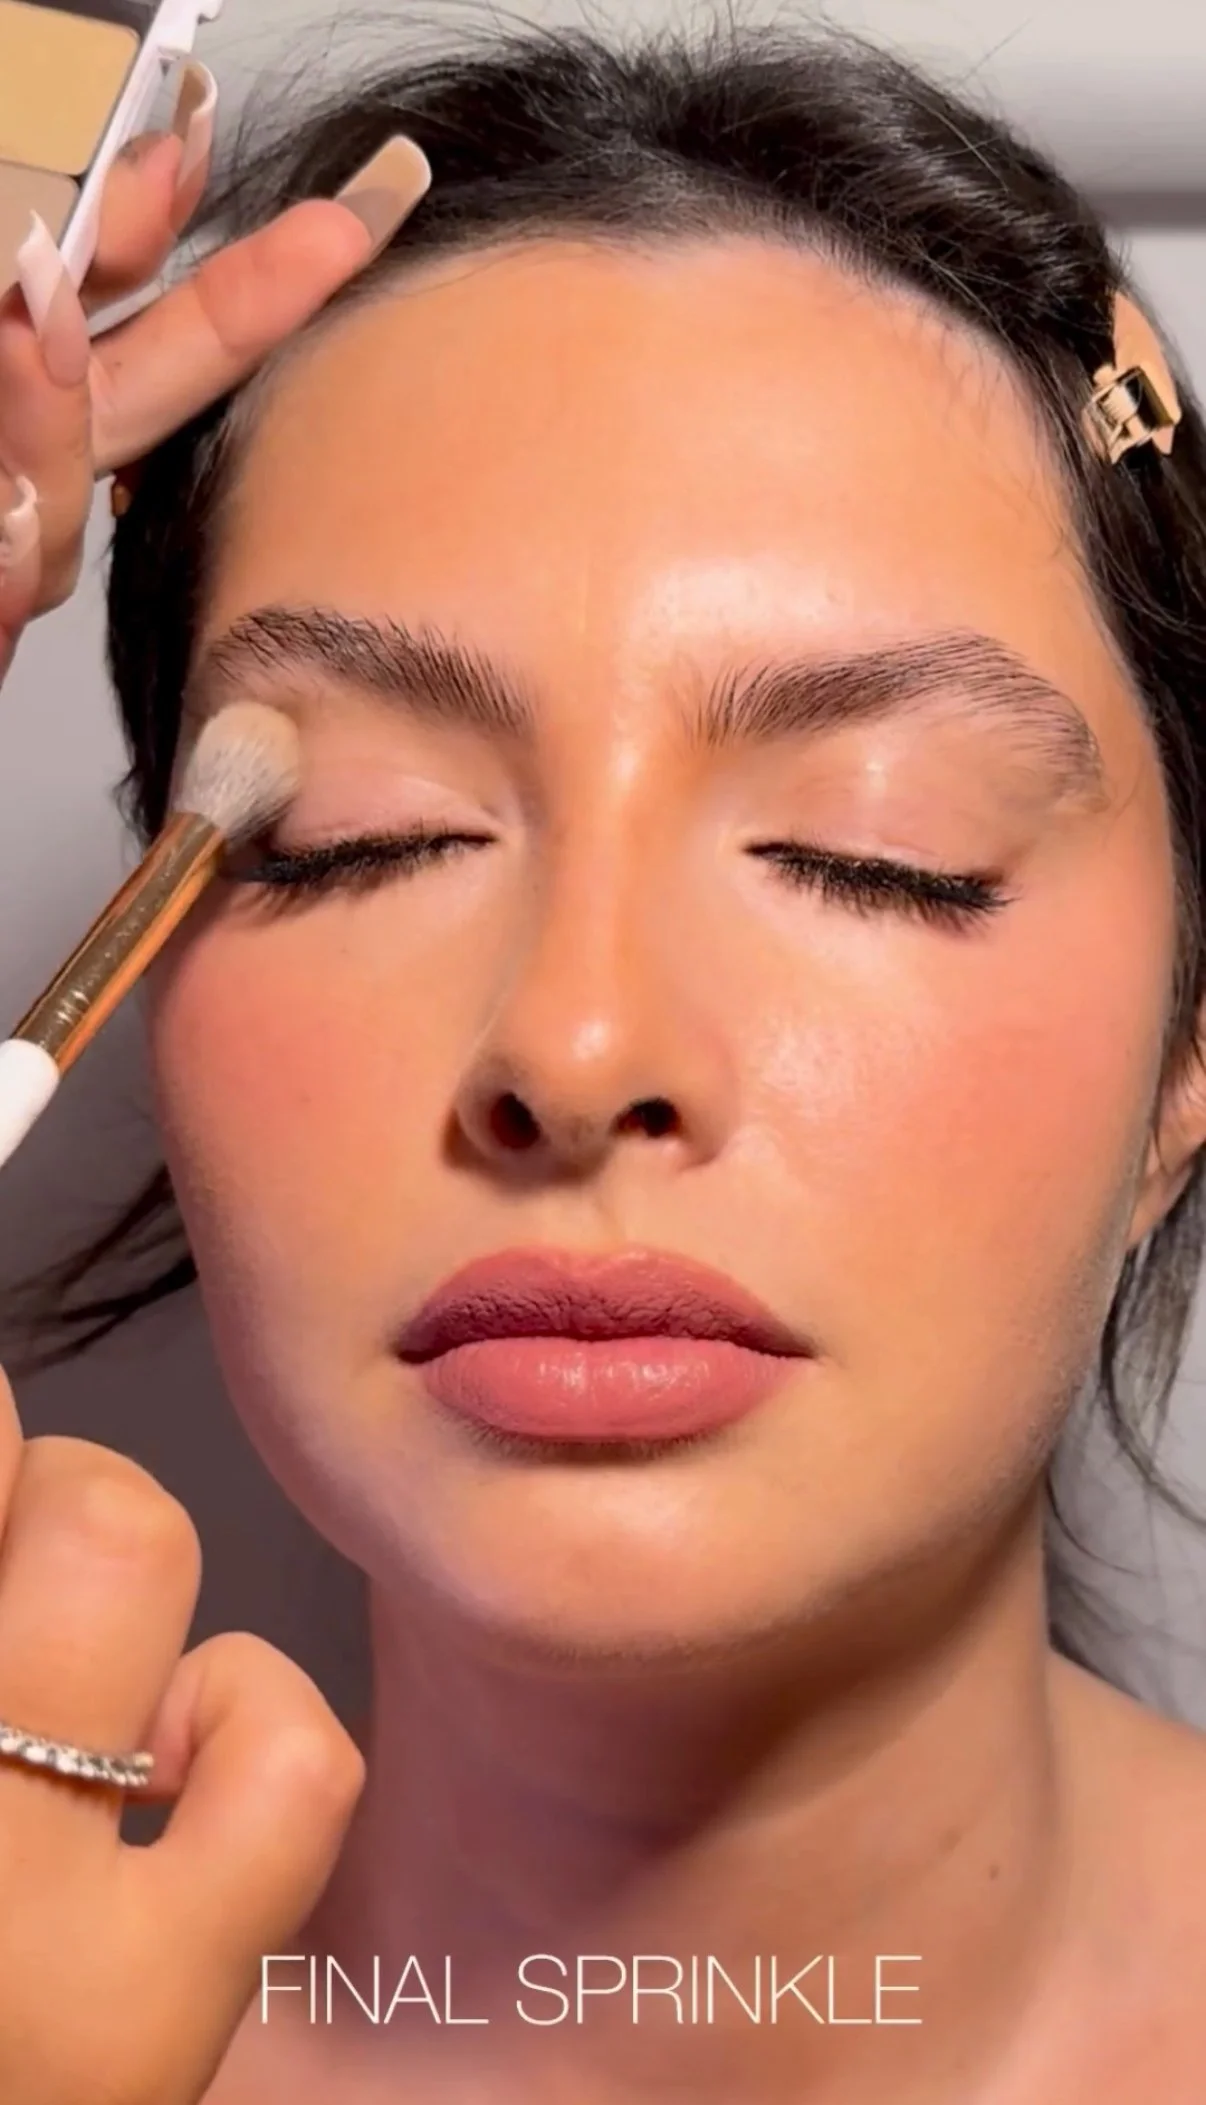
Start with eyeshadow primer - it acts as a barrier on the skin preventing any oils from coming through don't forget to apply on the bottom lash line.
Pop of Color - You can do this with eyeshadow or a smooth pencil. When dealing with hooded eyes, where the crease sobersides the lash line, try placing your colour on the bottom lash line, that's where you will get the most visibility and it won't smudge throughout the day. If you feel like ehhhh no. Hear me out; switch your regular brow bone highlight for a pastel blue, green or baby pink.
Blending Color- When using a pencil as your first layer, make sure to set it with eyeshadow powder for an even brighter colour effect! Take a clean small blending brush and smudge the edges.
Photographed by Yvonne Hanson

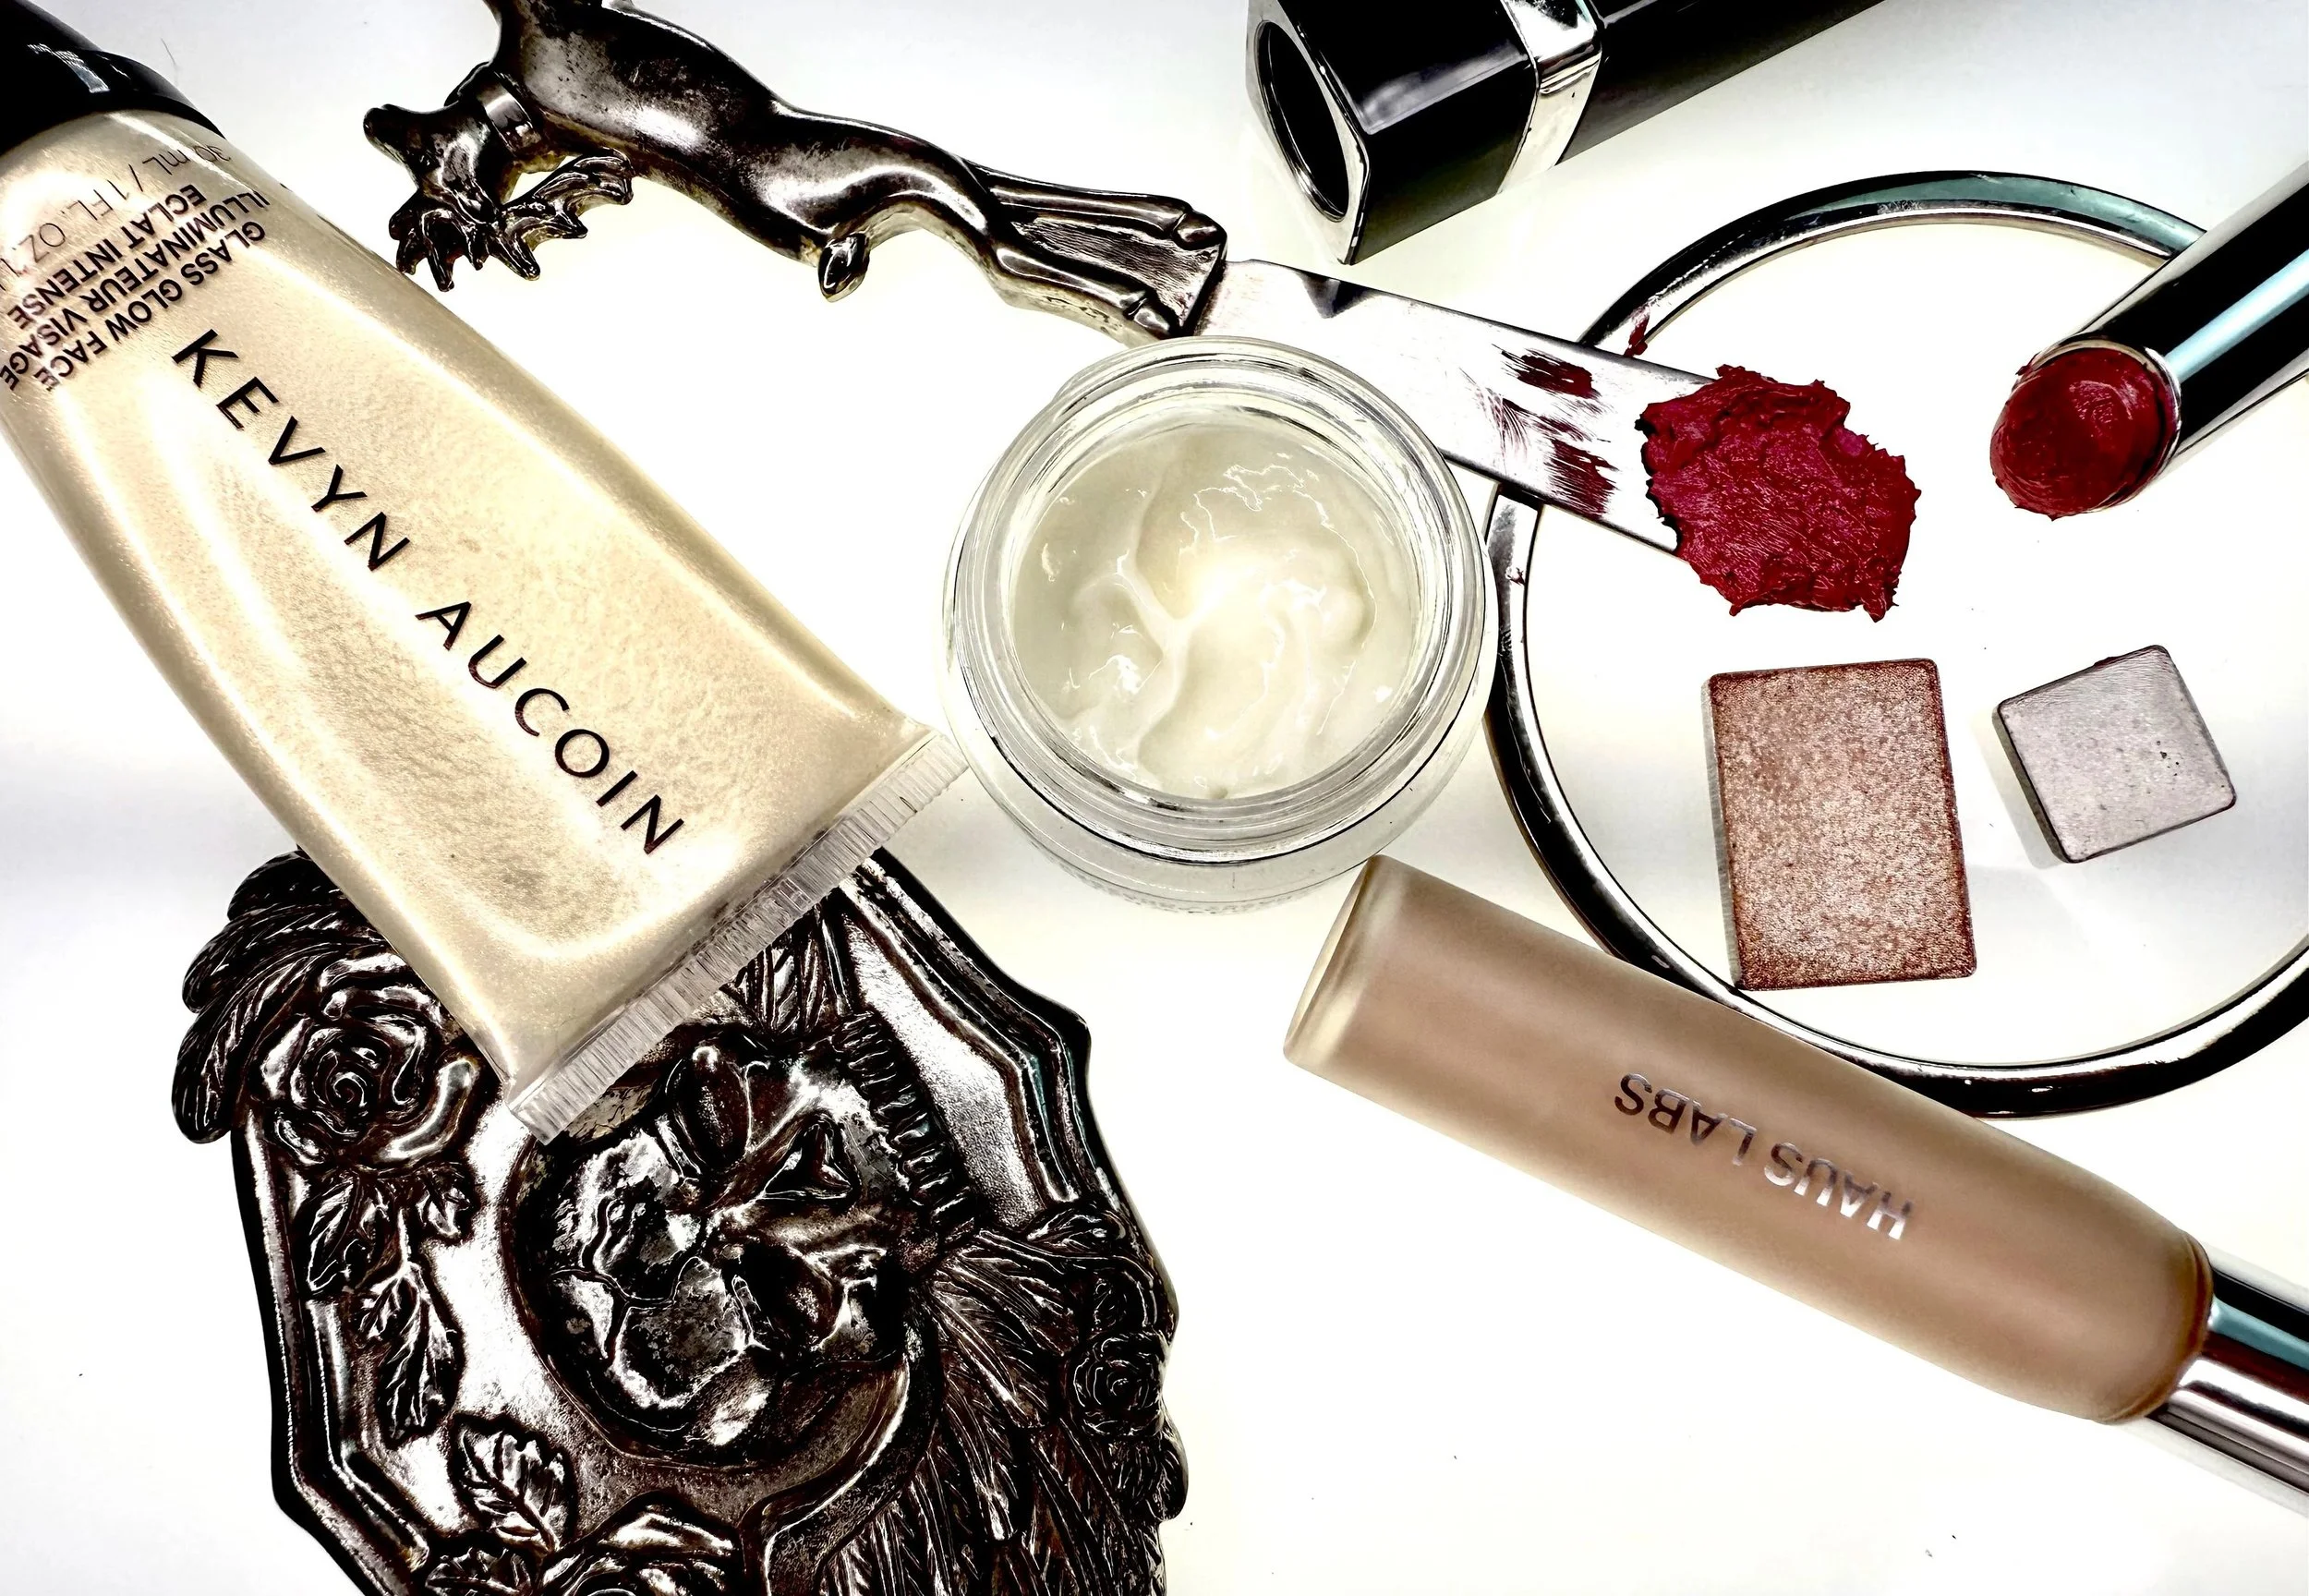
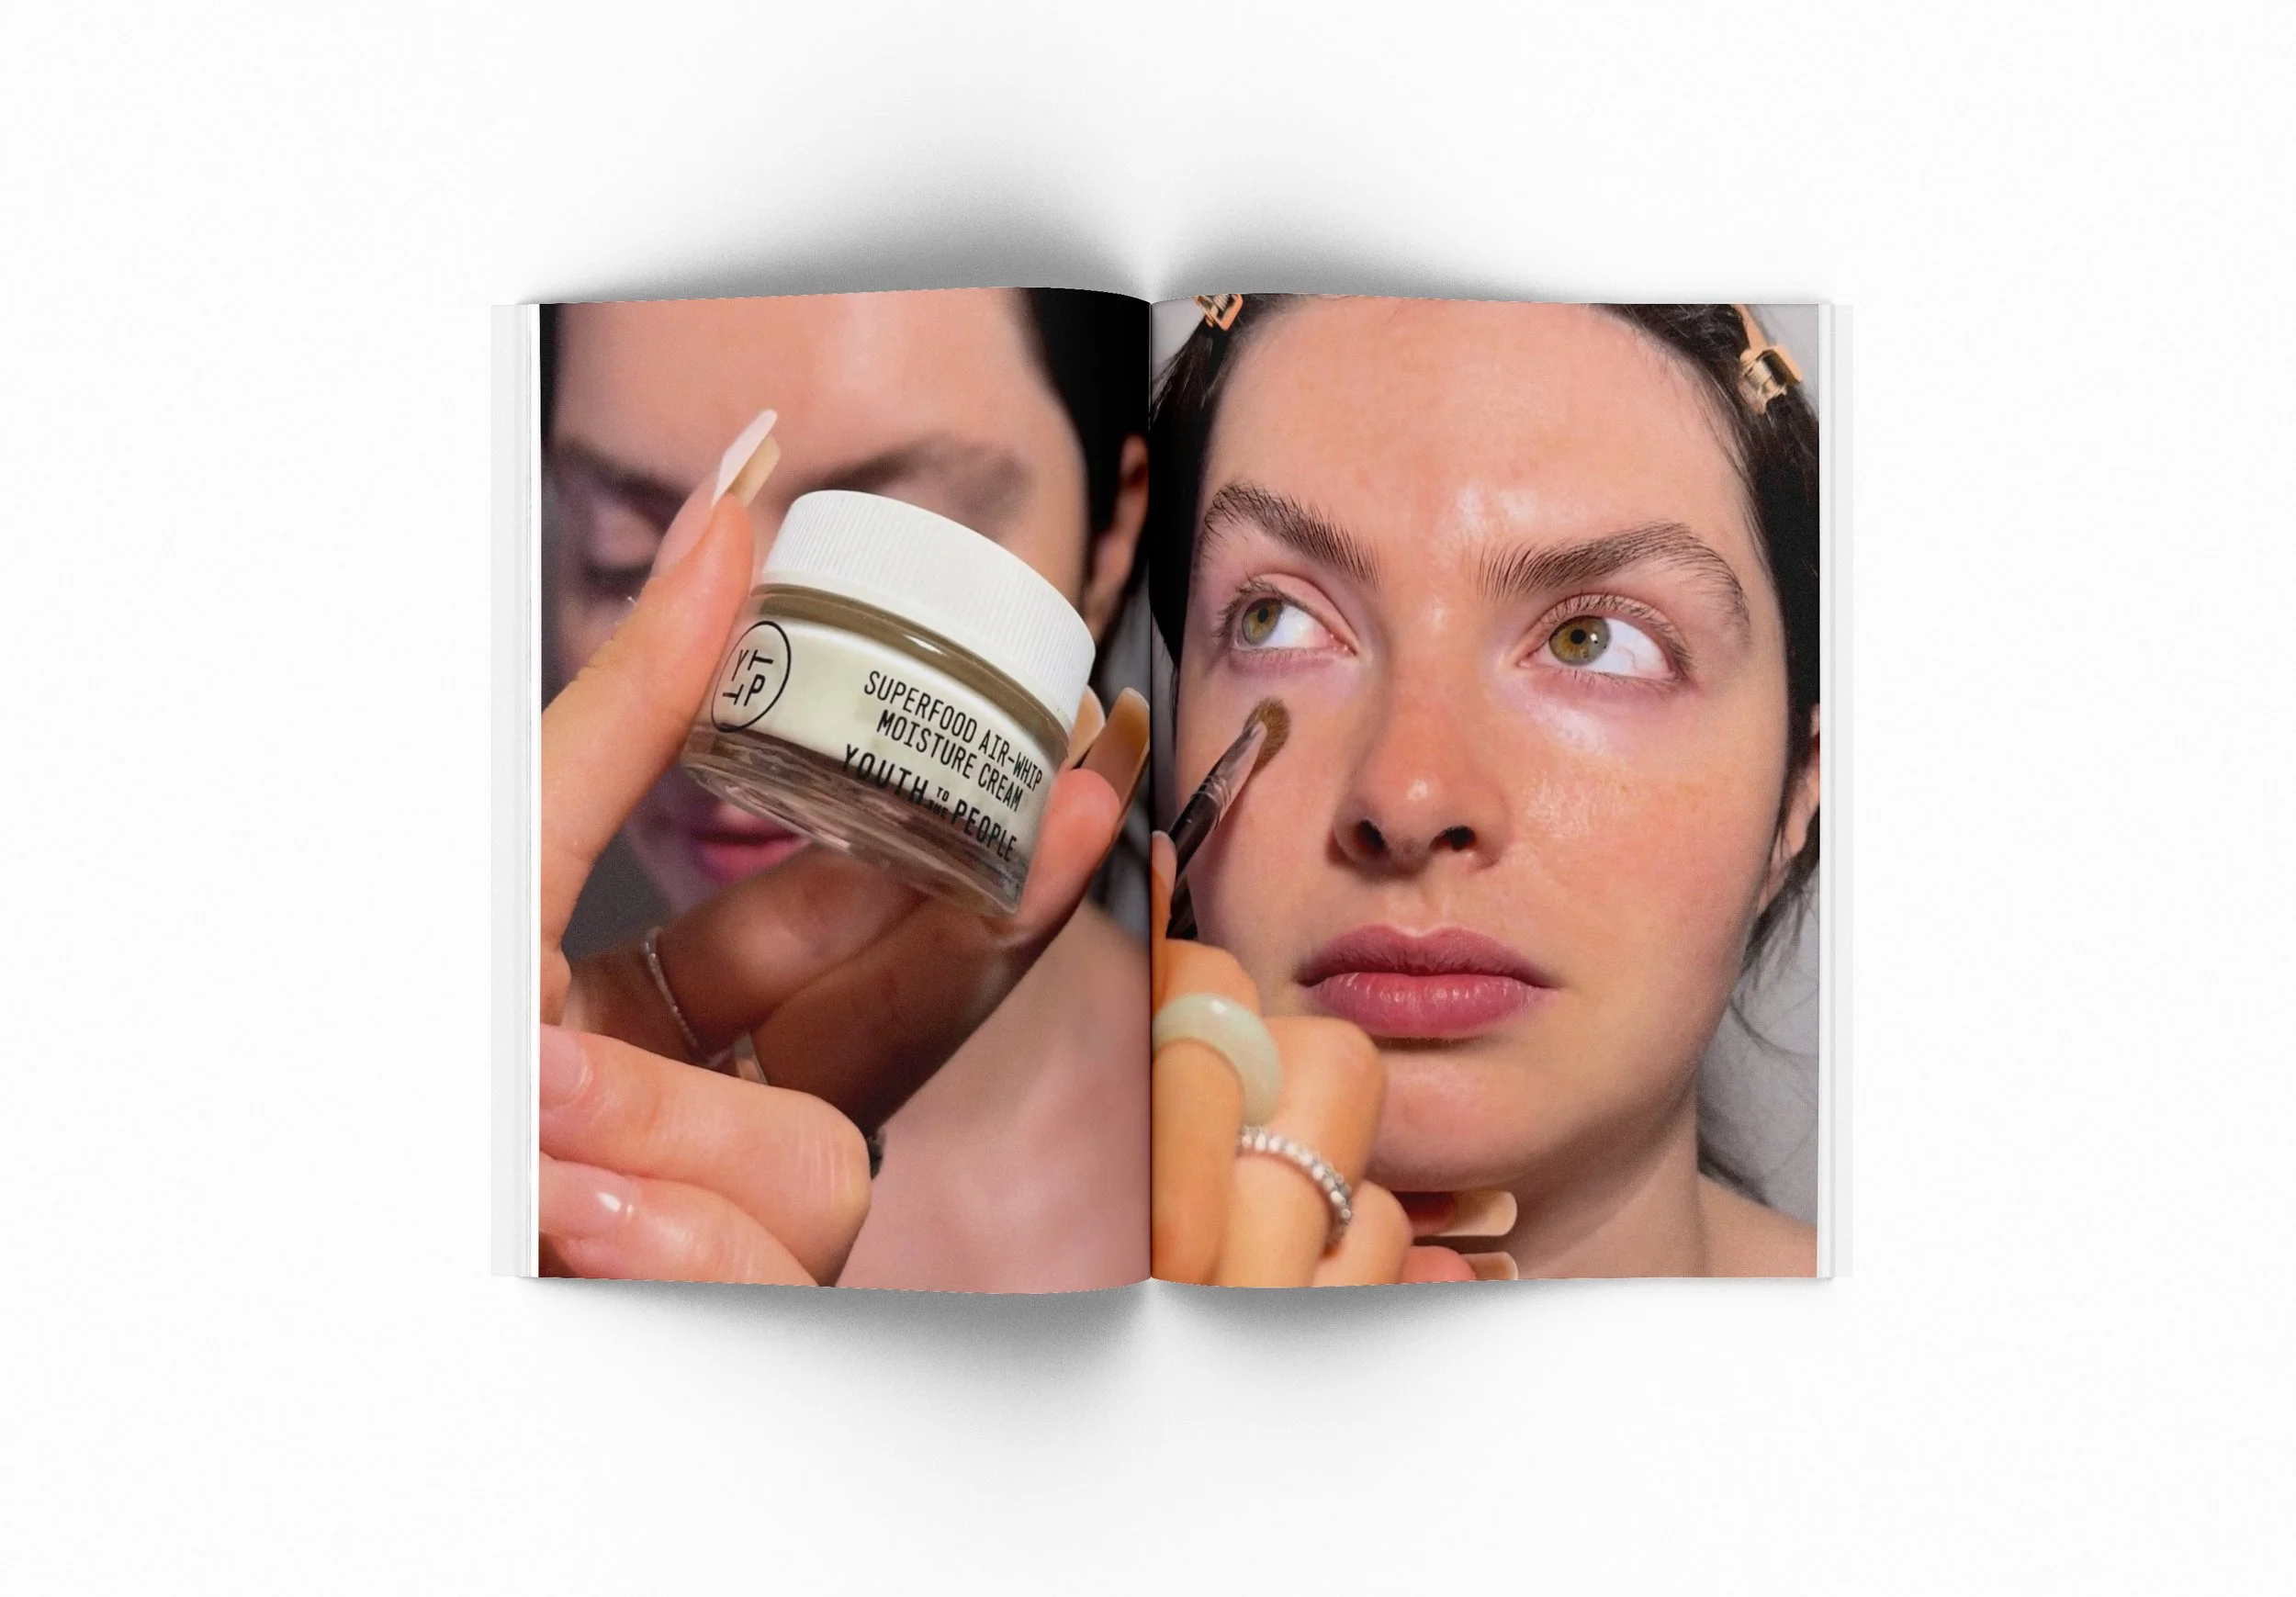
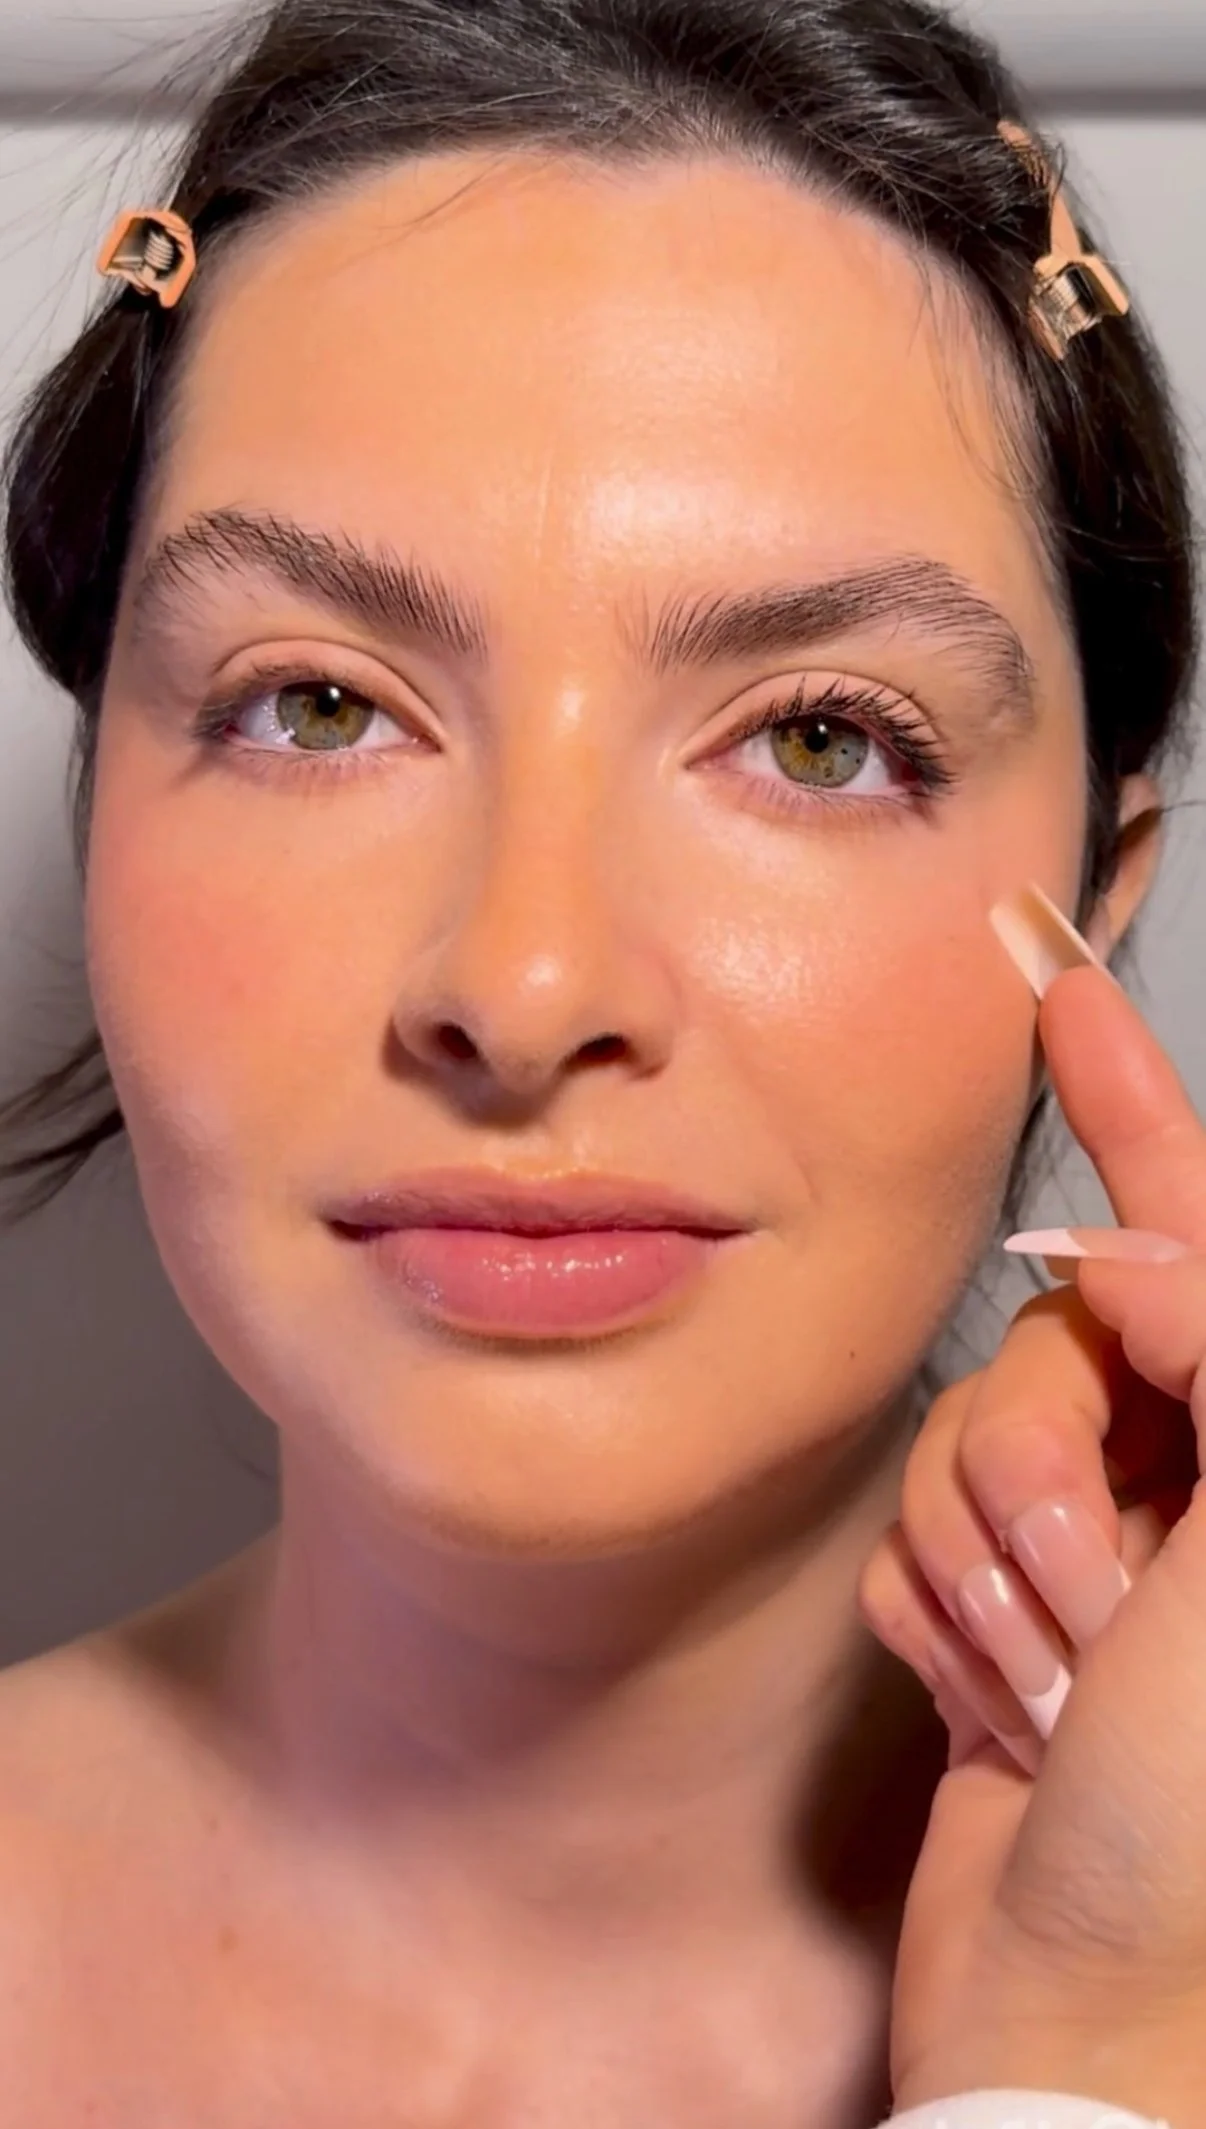
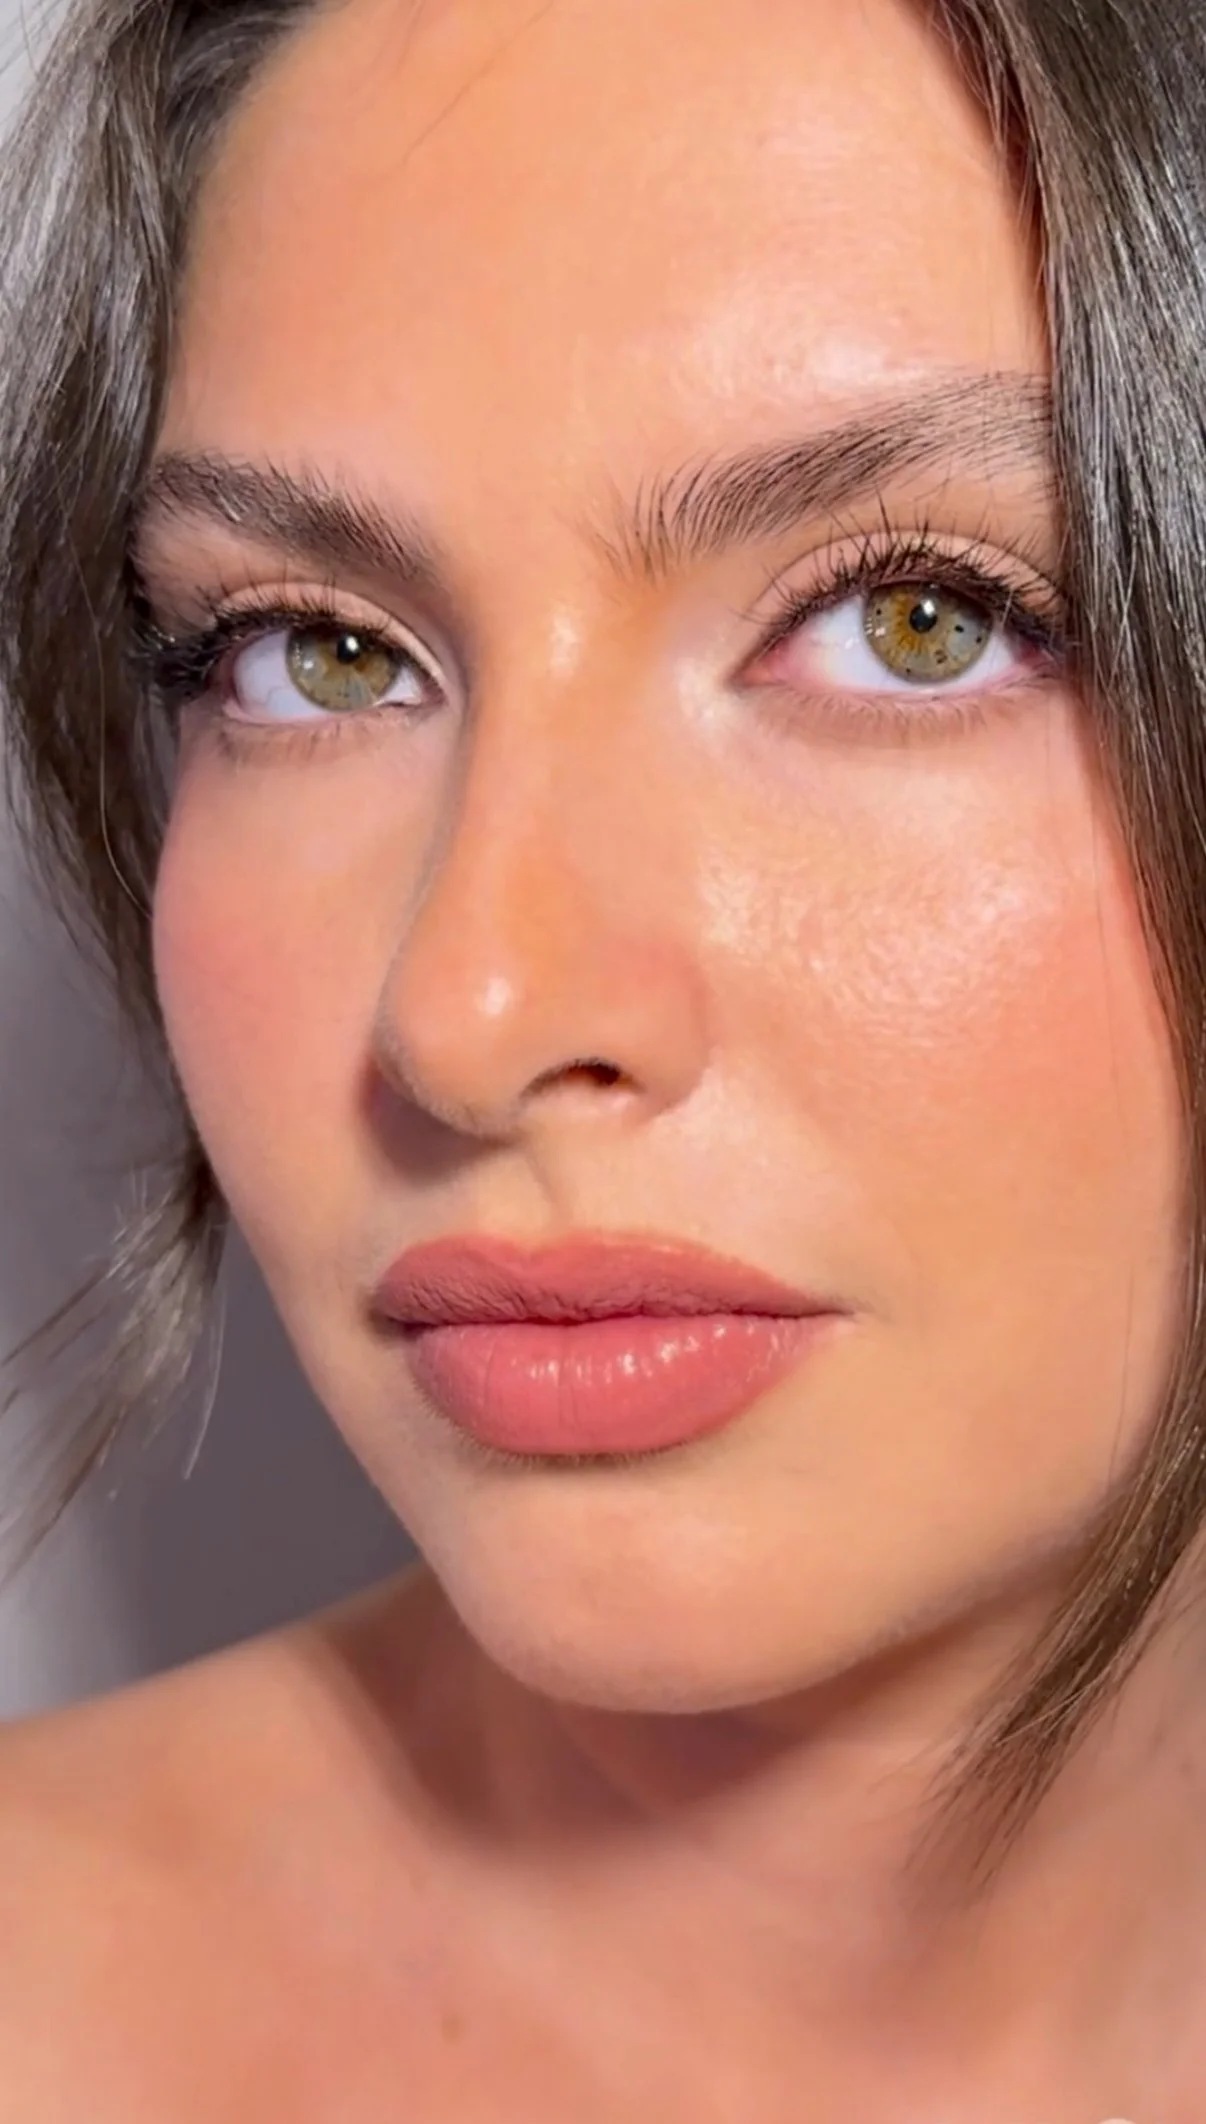
A guide to ; Timeless Skin & Natural Long Lashes

Want to level up your skin routine? Learn to build layers, when working on complexion for flawless skin & achieve lonnnng natural lashes with NO need for falsies.
Start with more than just a makeup primer; See what your skin neeeeds. Do you have spots that tend to get oily throughout the day? Dry areas of your face that makeup tends to flake off ? if your skin is on the drier side and you have fine lines, consider doubling up on moisturizer & apply an eye cream. You can target the oily areas with a thin layer of translucent powder b4 applying foundation. also….. sunscreen. sunscreen. sunscreen.
Less is more ~ To build flawless and natural looking skin start with thin layers of product. Before you set anything with powder, try sticking with same ish textures. Creams are amazing to start with. Blending the product on the back of your hand B4 applying to your face is a game changer, it warms up the product and you’ll get a way faster blend. If using a sponge (🧽 💧 damp plz) try spraying with a mist or setting spray throughout applications.
Our model Bella, had naturally long lashes but here are some tips on how to get them looking lengthy and make it the main focus. Start ; by curling your lashes, take theee time. Choose a TRUE black mascara. Concentrate product on roots holding the wand vertically. Meaning, use the very tip of applicator and finally drag it up towards the end; repeat.repeat.repeat. (you want thick roots and thin tips)
If you got the time… TRY taking some dull tweezers and slightly connect or take mascara excess of your lash tips!!! it works specially good on the bottom lash line.

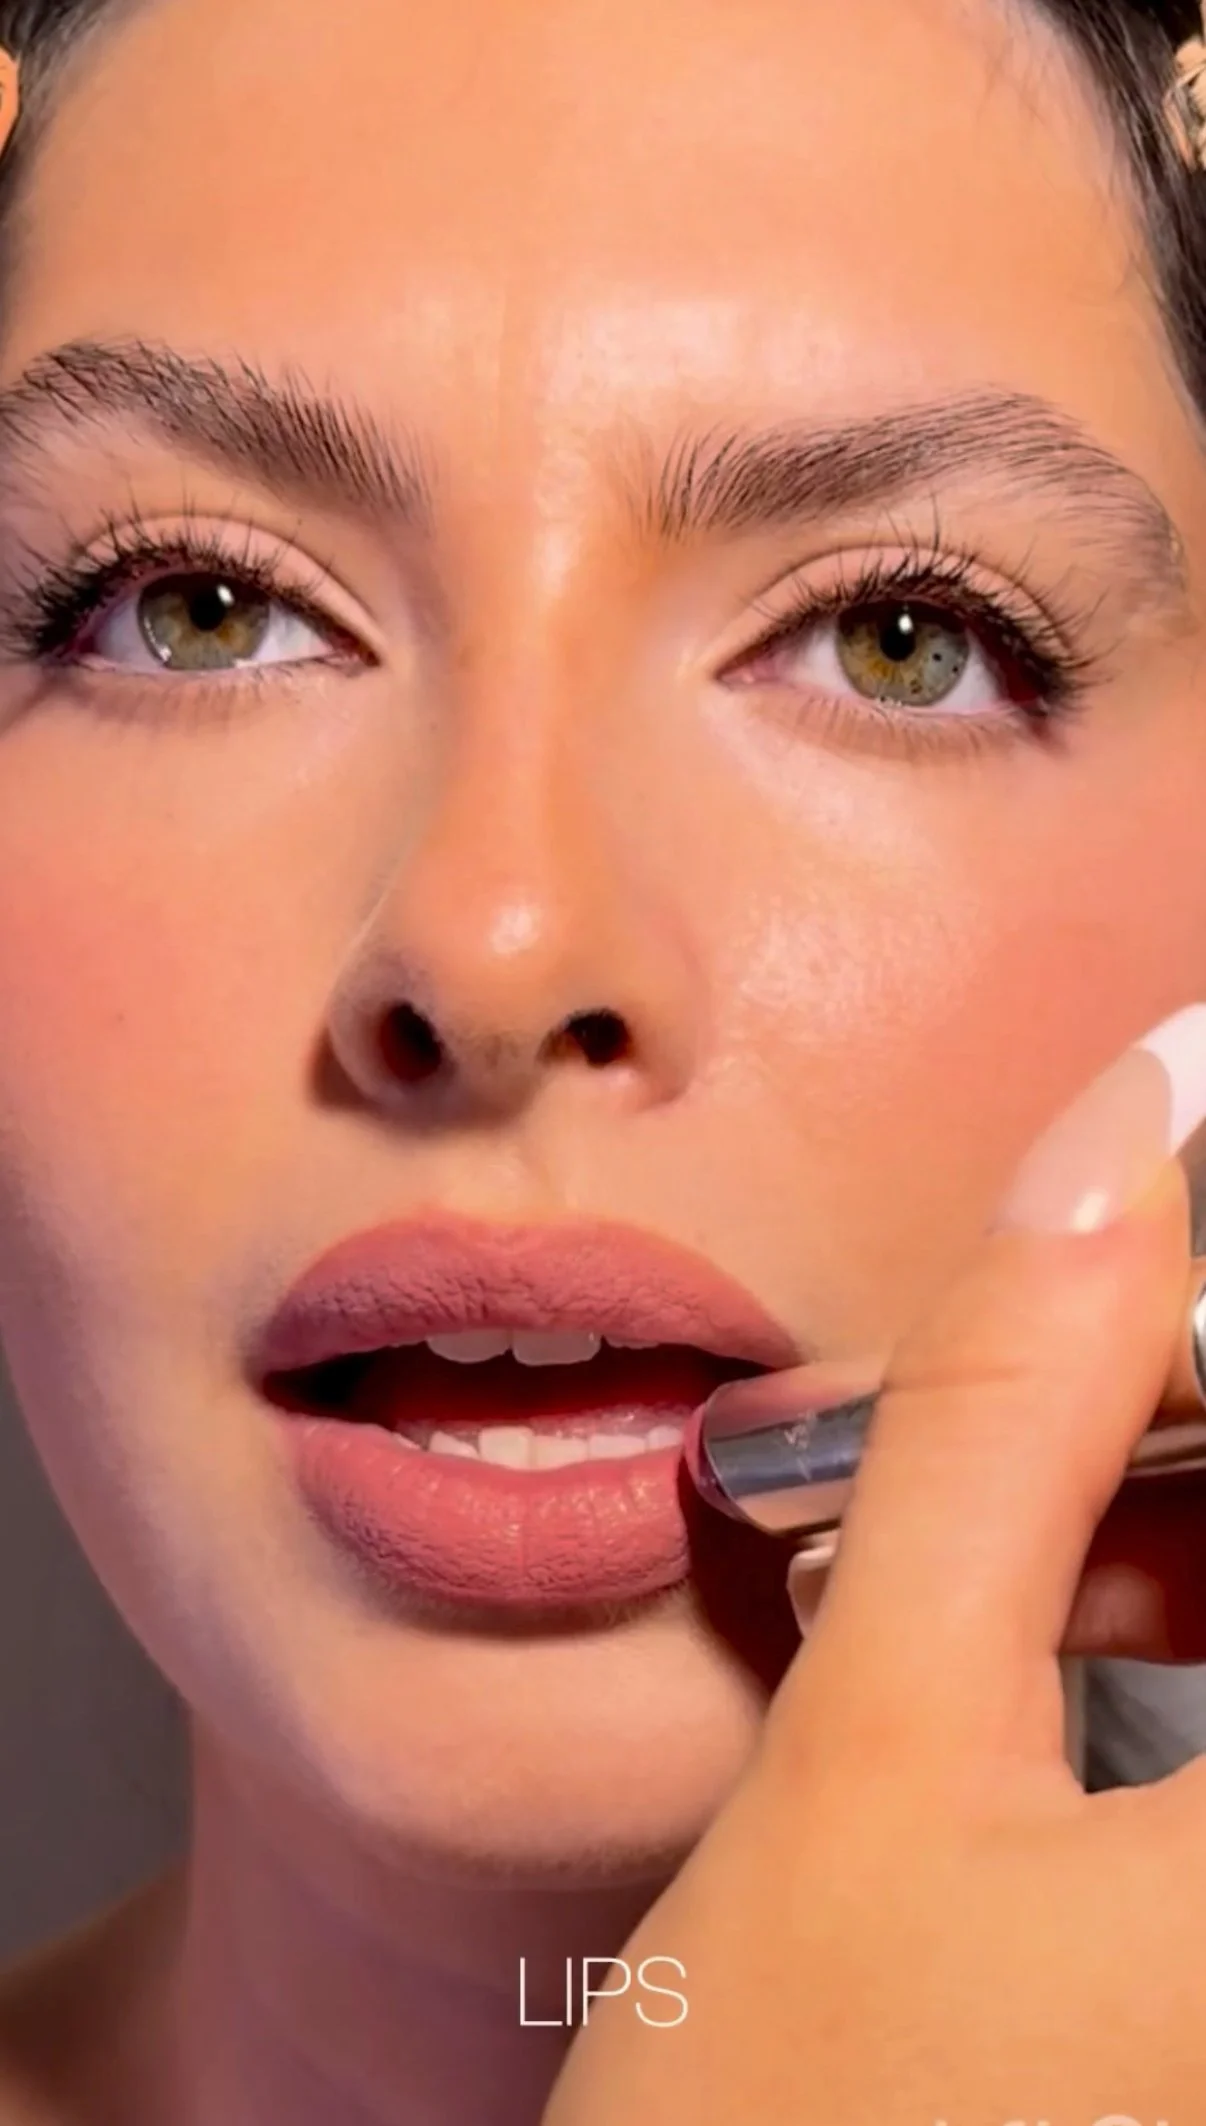
Sticking with a water based liner - You often use a product like this when you want faster makeup application and way quicker cleanup. No hassle correcting lines and trying to get it off.
Eyeshadow primer - Don't skip this Step !
START ; half way through your lash line going outwards. Instead of pulling the wing STOP where your lash rim naturally ends.
Choose your Tools ! A small tapered brush is ideal, once you reach the end, move the brush in small circular motions. With what's left on your brush pull a soft wing.